FIN 135 Unit 2
FIN 131 Unit 3
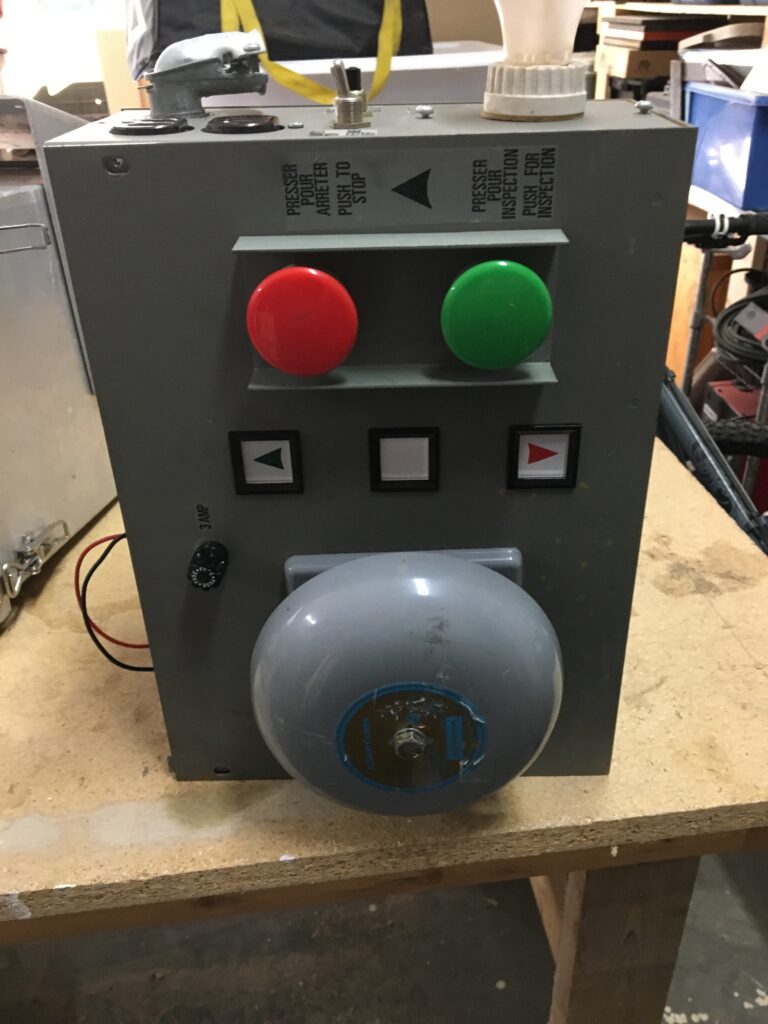
so part of unit 3 is creating a monster using resources from the metal shop. I had considered using these found objects with my 3D models but they lend themselves far better to my monster robot.

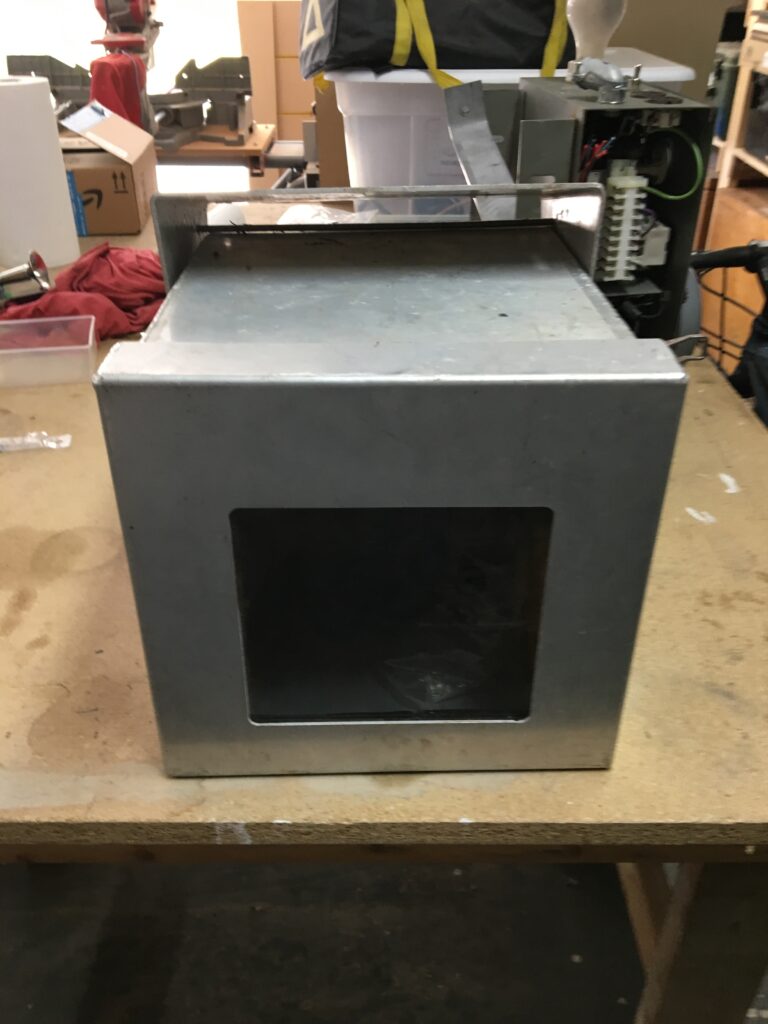

this is the image used in my monster robot
[Portrait of President-elect Donald Trump]. Digital photograph, 2016. Library of Congress Prints & Photographs Division. https://www.loc.gov/item/2017645723/
FIN 131 Unit 2
The pace is pretty frantic in this class and we are still completing the unit 1 projects including the picture frames, the raku firing and the multiples project. We are now also embarking on Unit 2 which includes 3D modelling work. It is 4 March and by last week I should have completed my ideation for the project, but I am just thinking about it now. In the meantime in order to keep the momentum up I have scanned an object that I particularly like, and I’m hoping that the object will speak to me much the same as the citrus squeezer did.
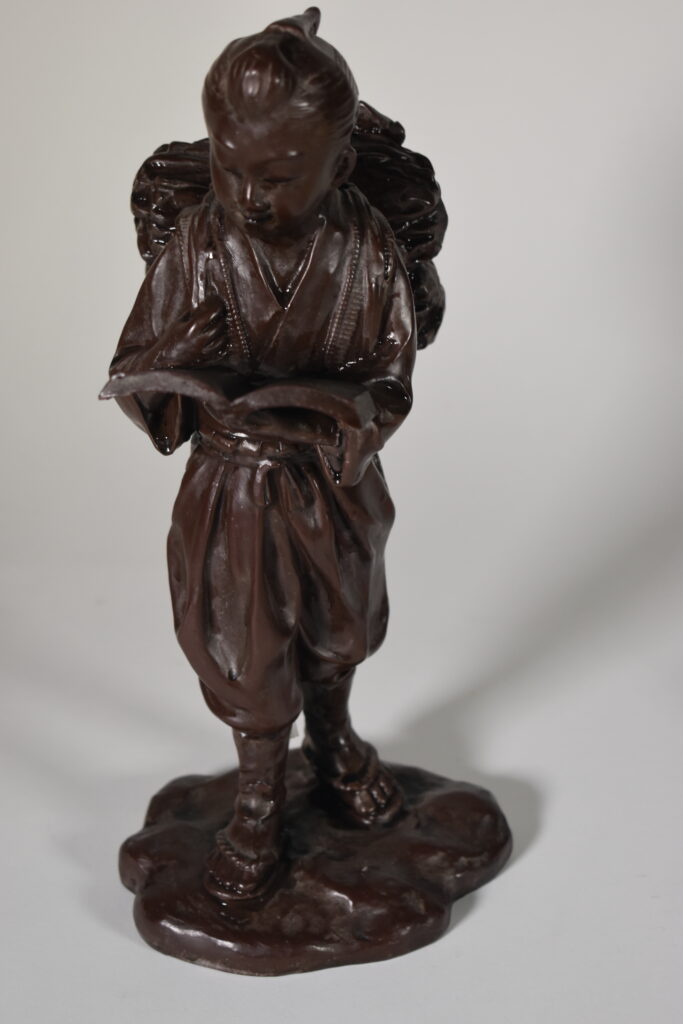
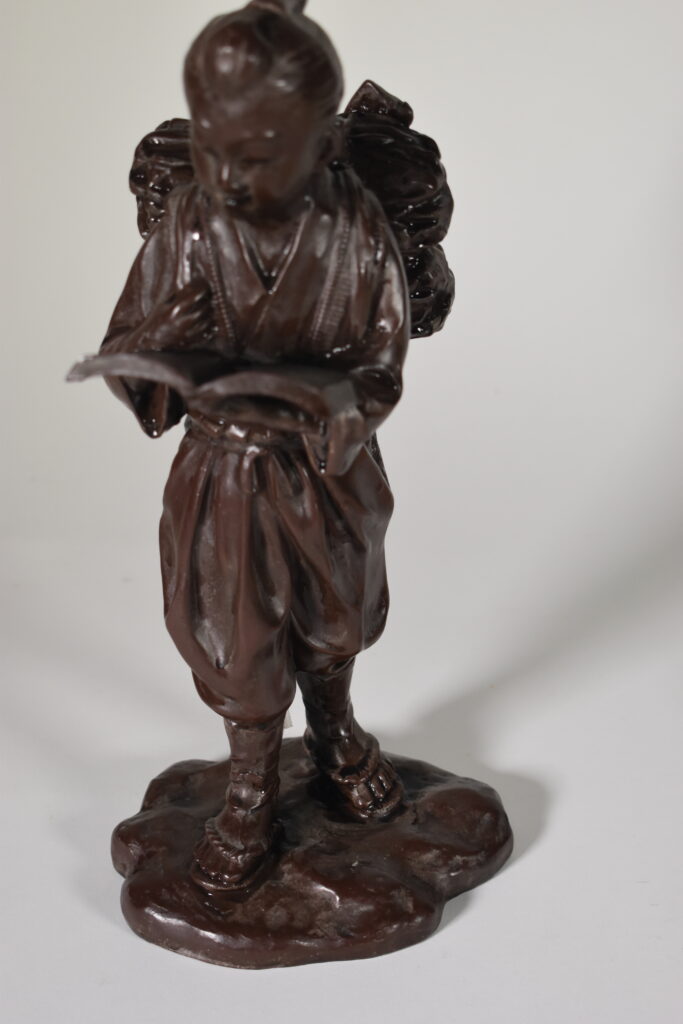
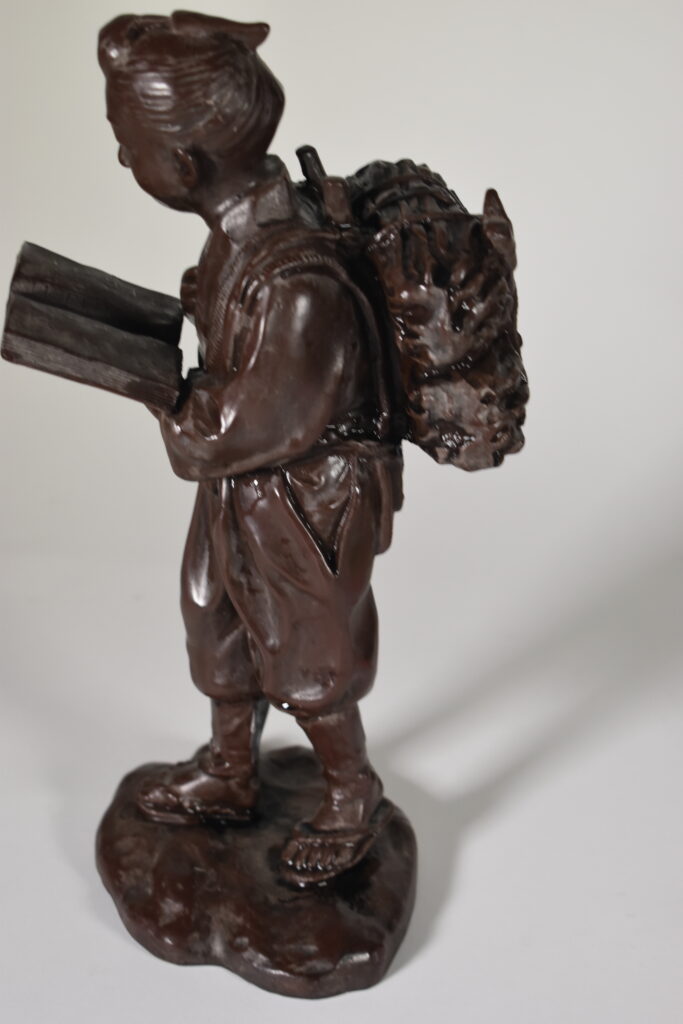
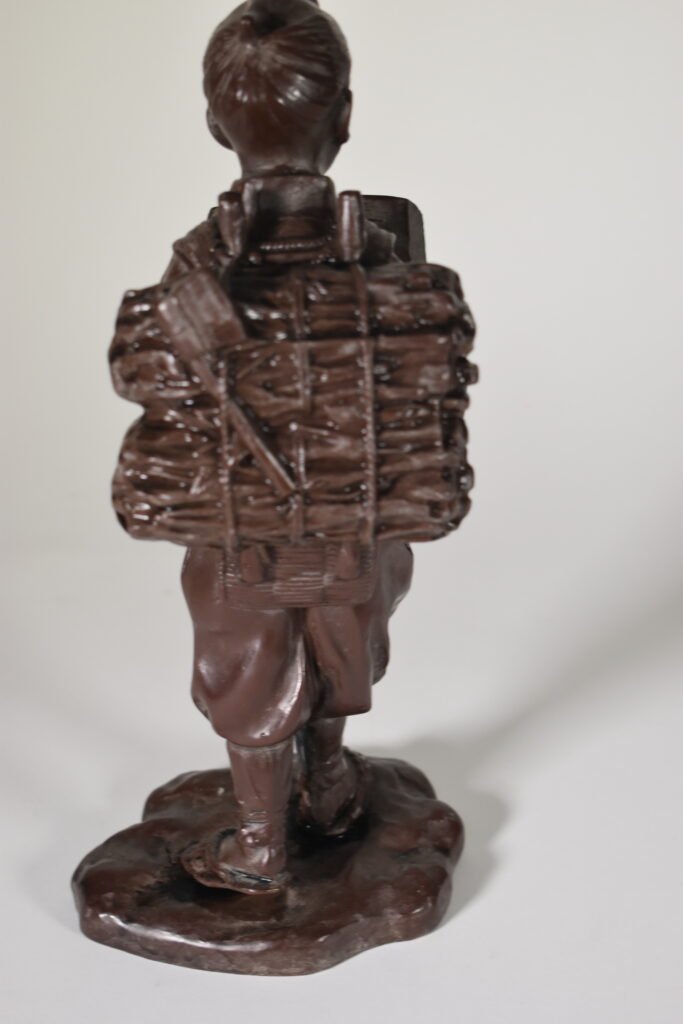
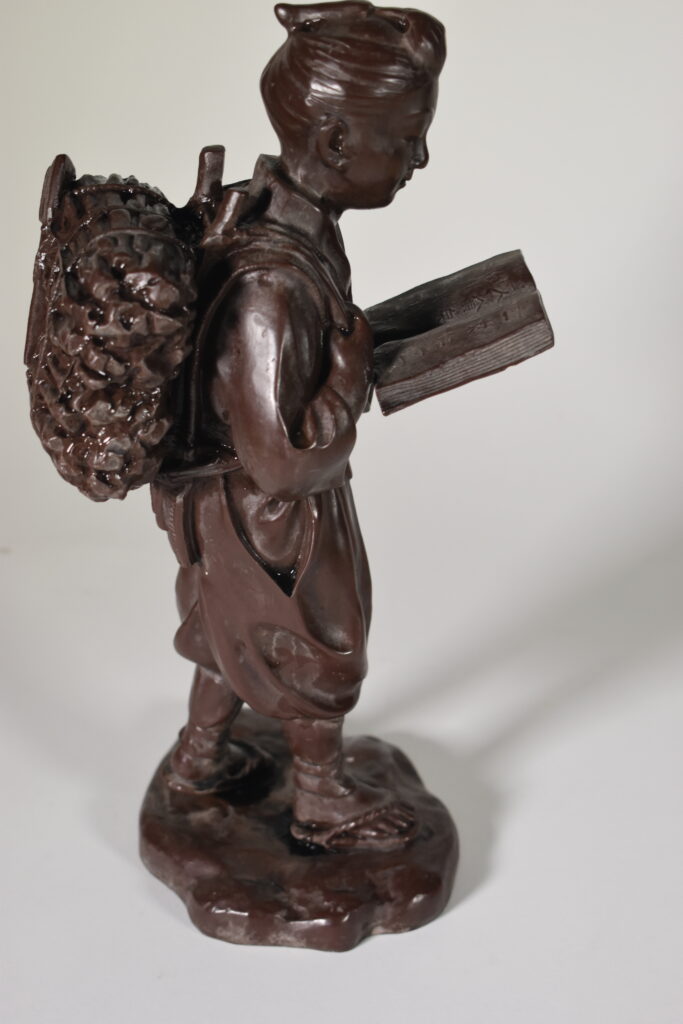
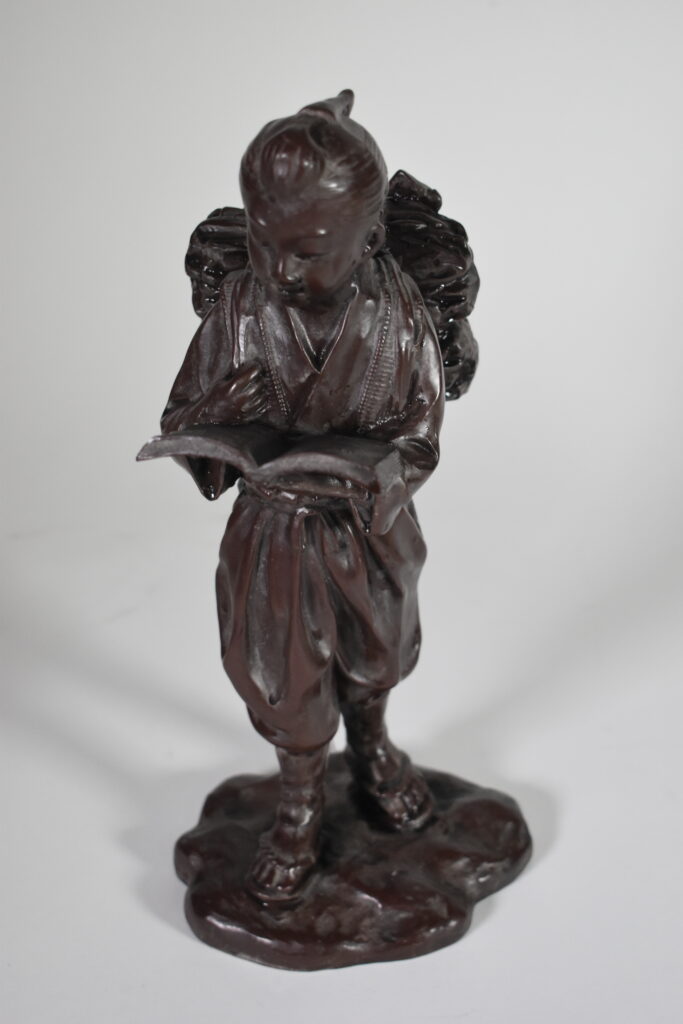
My object is a bronze casting of a Japanese scholar from the Meji period (1868-1912). I found this in an antique shop about 30 years ago and it has sat on my window ledge in various houses aver since then. I completed the scan and have uploaded it ready to work on it with meshmixer.

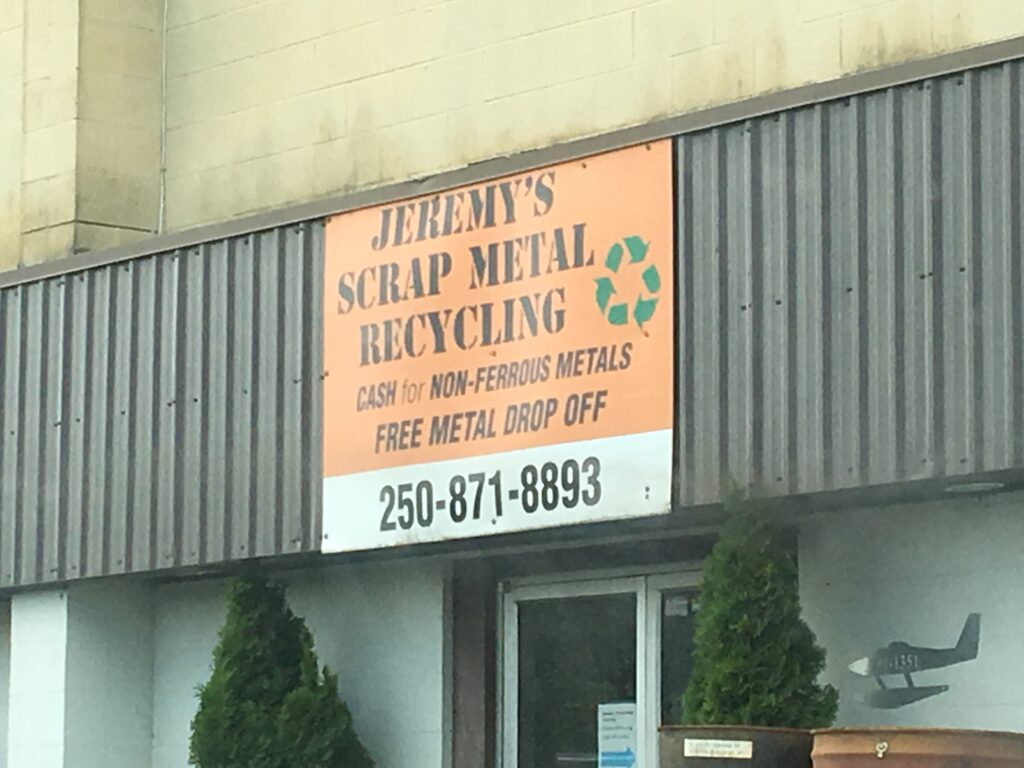
Following the multiple links which Angela provided for ideation sources for me created as many questions as answers. The Thomas Doyle pass through series struck a chord. I found a couple of objects during Creative Process about 5 years back which I thought might make a great diorama. I found two objects in the scrap metal yard in Courtenay. Not sure how that might work with the broad concepts however


The slinkachu sets also might provide some context. I have my figure of a scholar – which might be found anywhere on NIC campus – you would definitely find him in the library…in slinkachu sets the ethnic figures are given some cultural context as well – with the Arabian caravan in the sand – in that sense perhaps bamboo or rice might provide a backdrop for my scholar. I do also have a nice Japanese vase from the same period which might work well.


so this is what my scholar looks like when scanned with polycam

and here he is in meshmixer
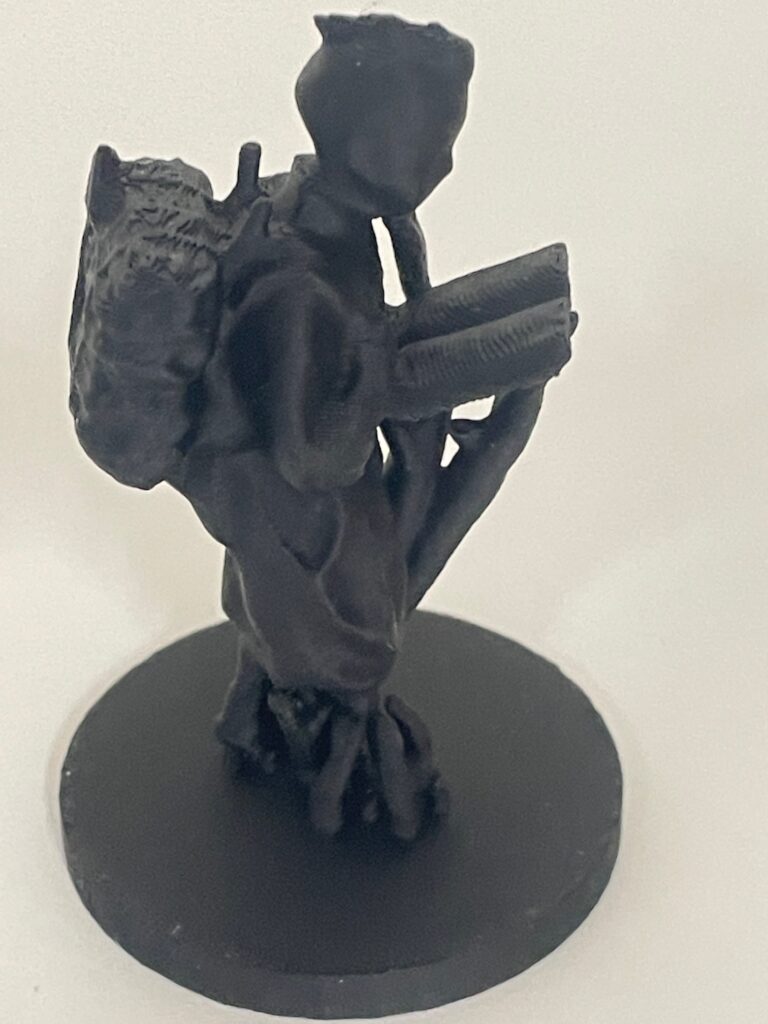
and finally as models. I have abandoned the diorama idea and am instead going to use the found metal objects to create my monster. I think the scholars will find their way to the college library….
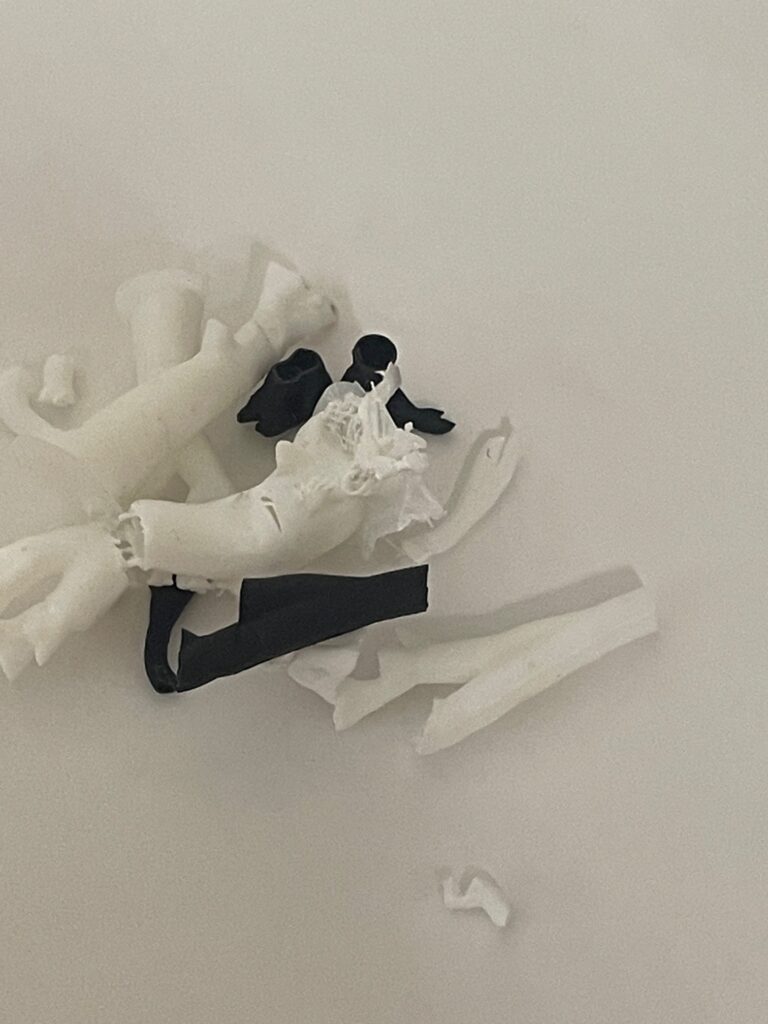
The models come with support structures for overhanging elements which must be snapped off once printed

FIN 131 Unit 1
So, this is January and what have we done?? Started another 3D class is what. Looking forward very much to this year,
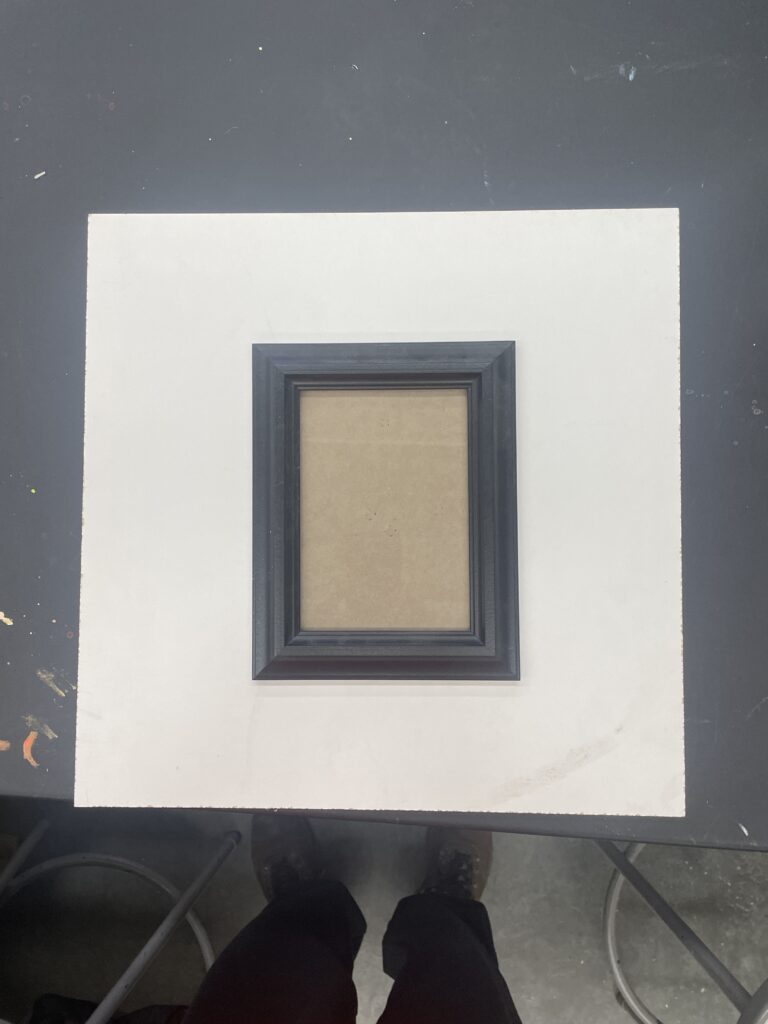
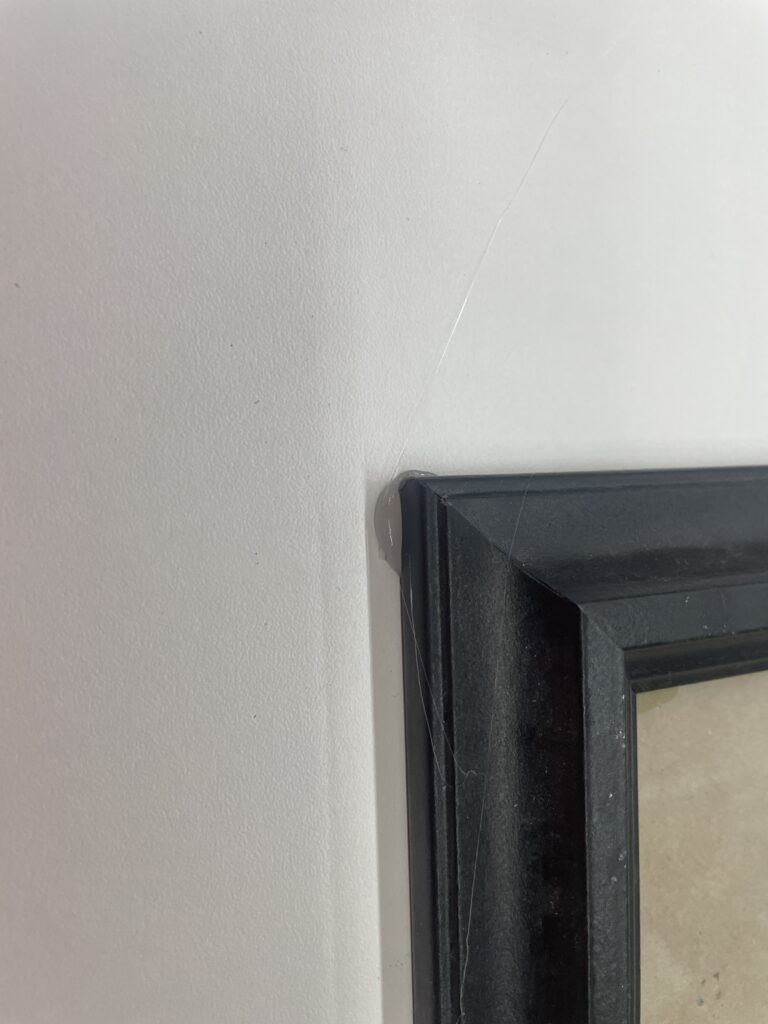
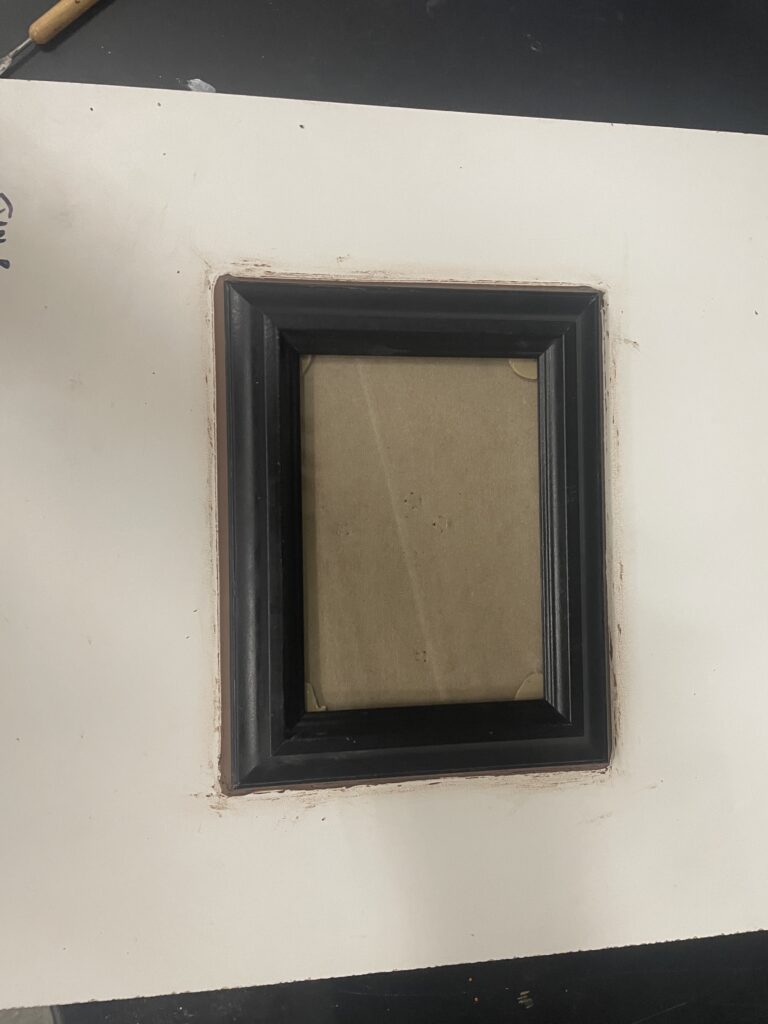
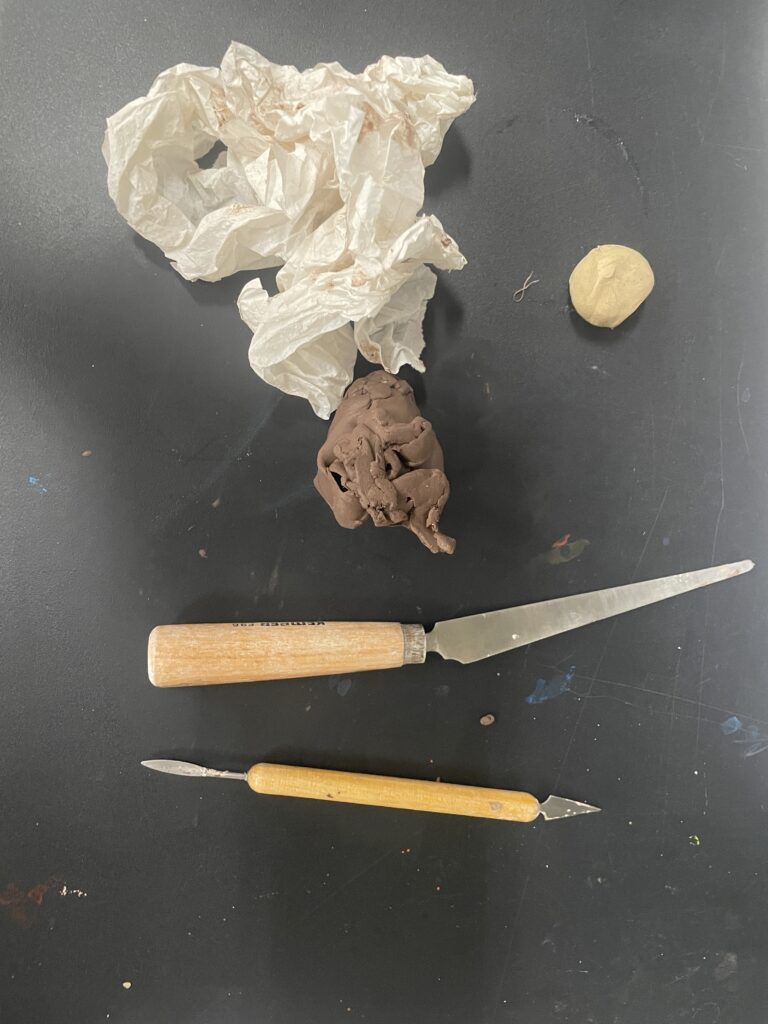
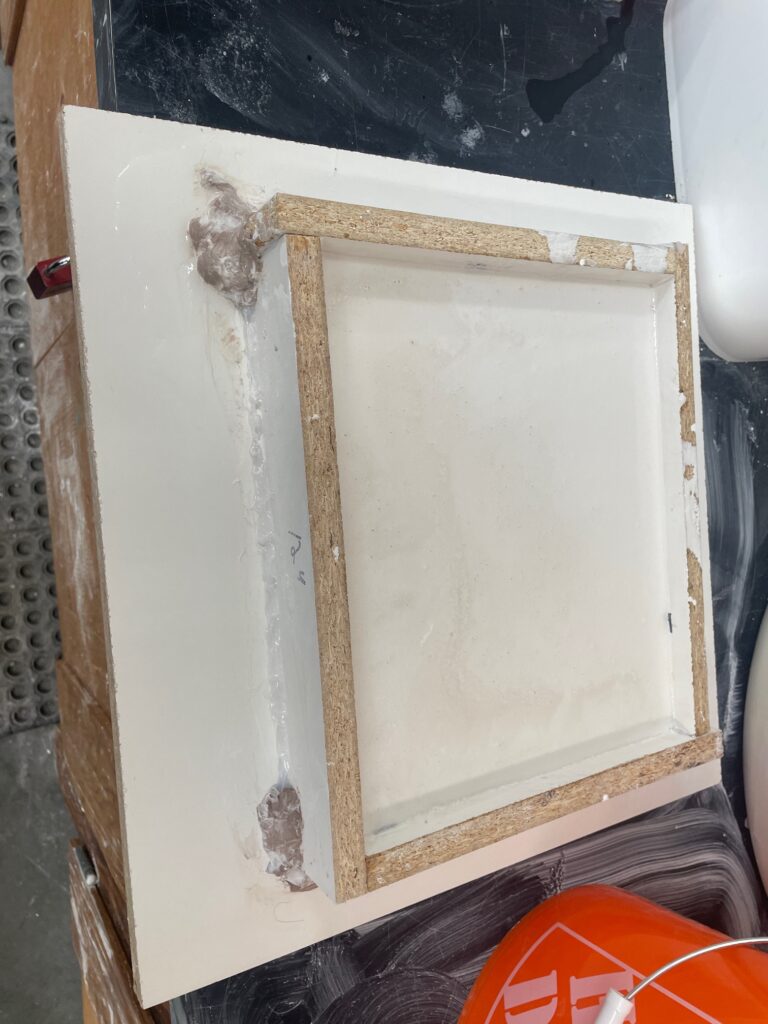
We are starting with making a series of ceramic picture frames. Rather than slip casting we will be applying a thin layer of clay once we have poured our moulds. First lesson we secured the frames to the board and used clay to ensure that there we no gaps and to provide a convex shape to allow easy removal from the mould. Next week we will complete the coddles mix and pour the paster which will take a week to dry before it can be fired. For my multiples I have an idea in my head that I would like to glaze the frames and in each one create a picture of a classic painting such as The Scream, Whistlers Mother etc. Don’t know if that is going to be possible but will soon find out

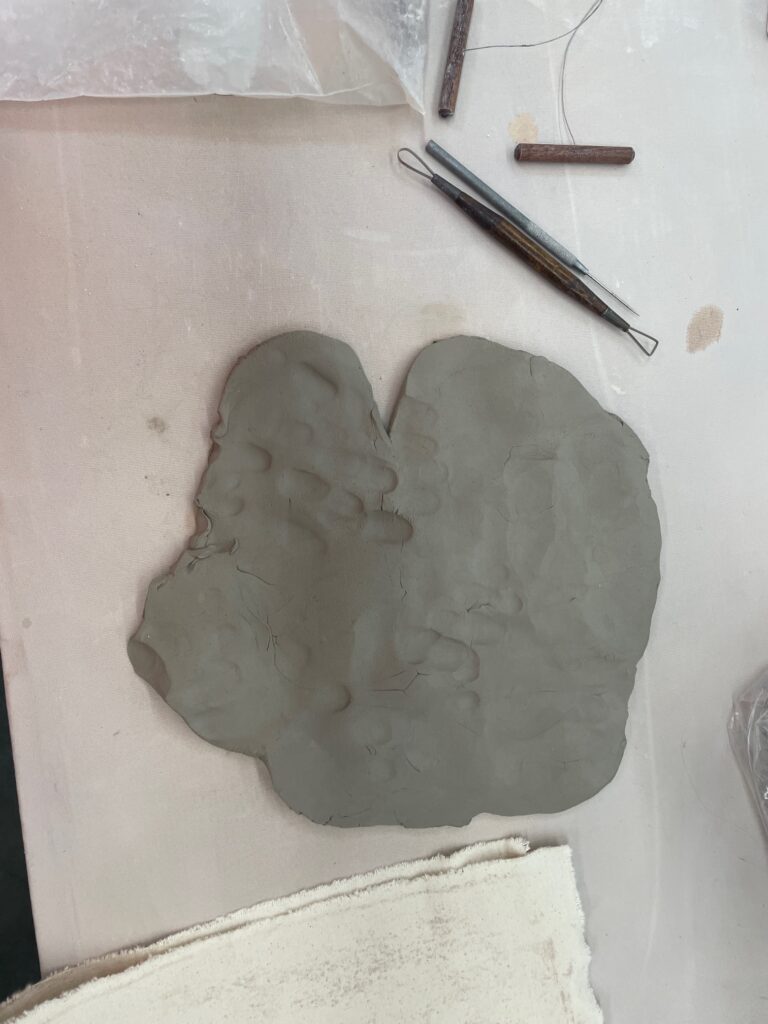
The plaster mould making went well and the plaster is quite clean with some nice detail. The next phase was to cast clay into the moulds, Unlike the slip casting this was done by rolling the clay out and pressing it into the mould. After about 30 minutes it was possible to remove the frames from the mould. Unfortunately I was feeling very tired and unwell so I only managed to make 2 frames. Angela mentioned that rather than imposing on the objects when raku firing it would be more fluid to experiment with glazes and let the process find its own way, so I have ditched the concept of making specific images inside the frame and look forward to having some fun with the glazing.
FIN 130 Unit 3
FIN 130 Unit 2
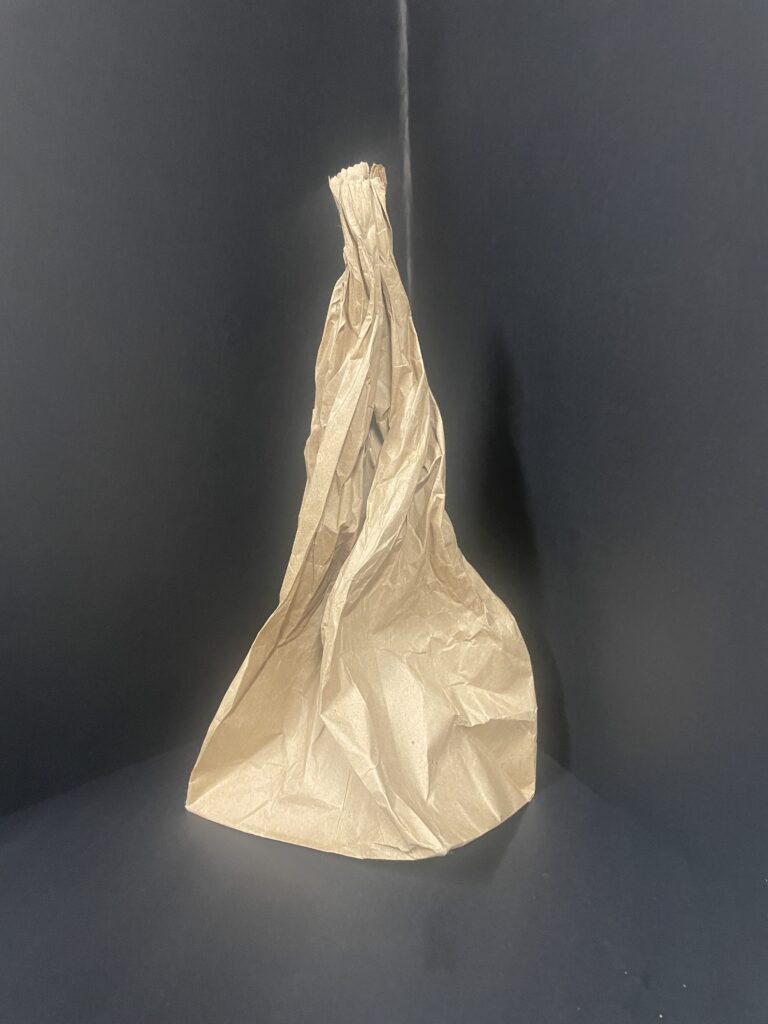
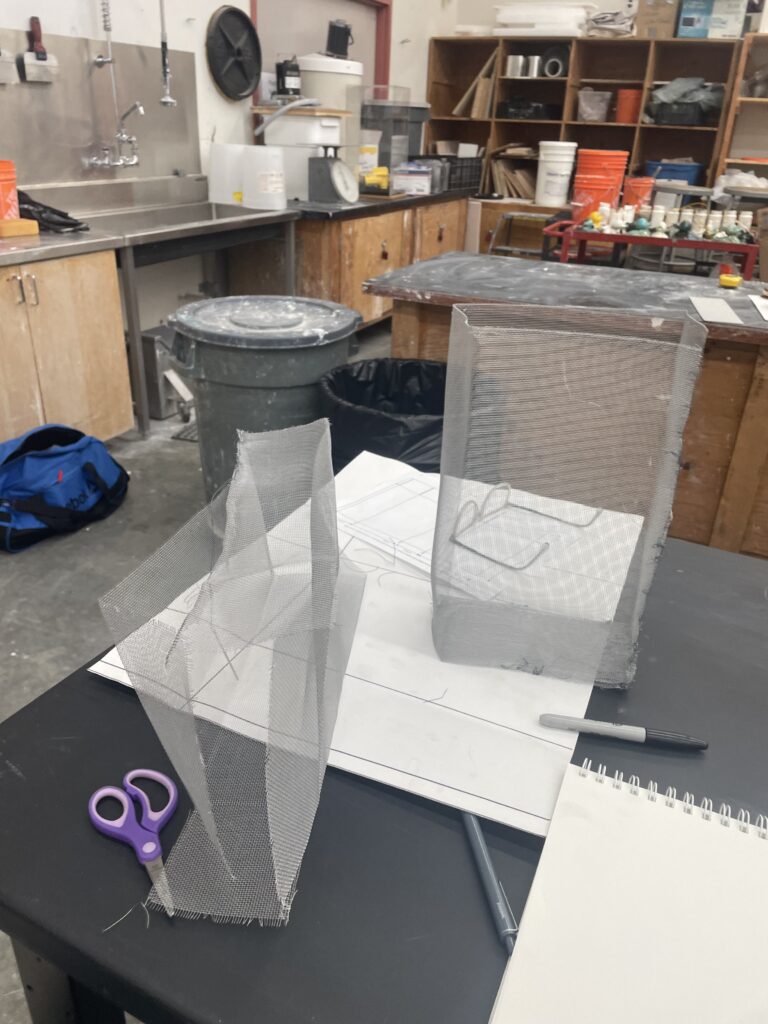
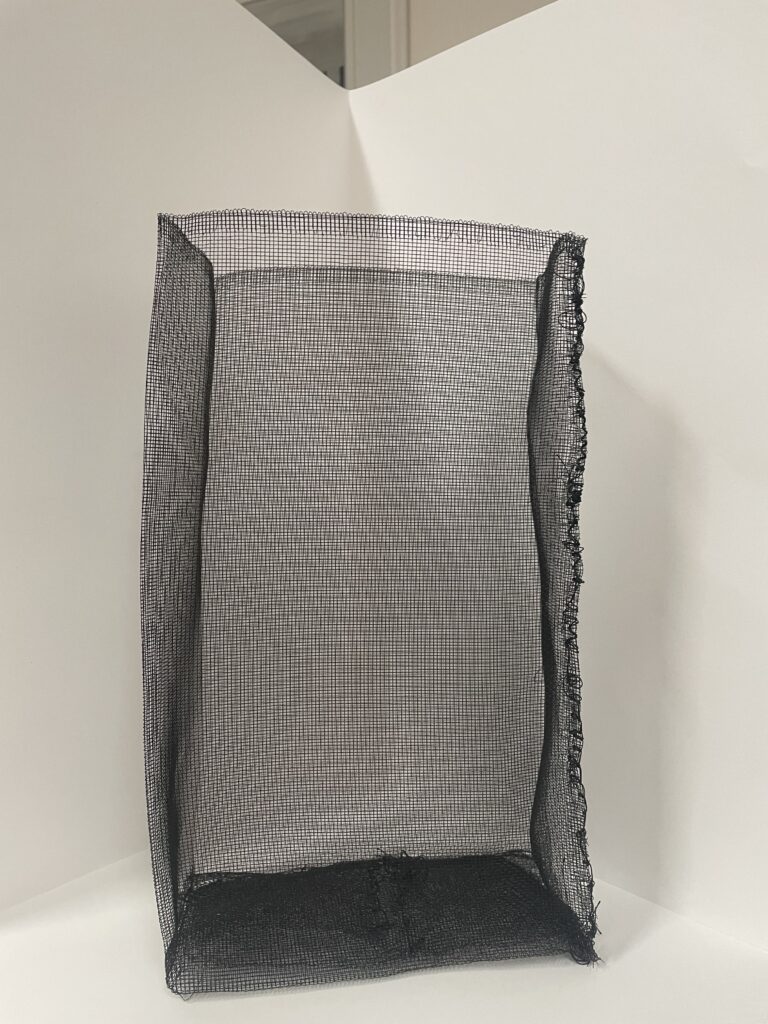
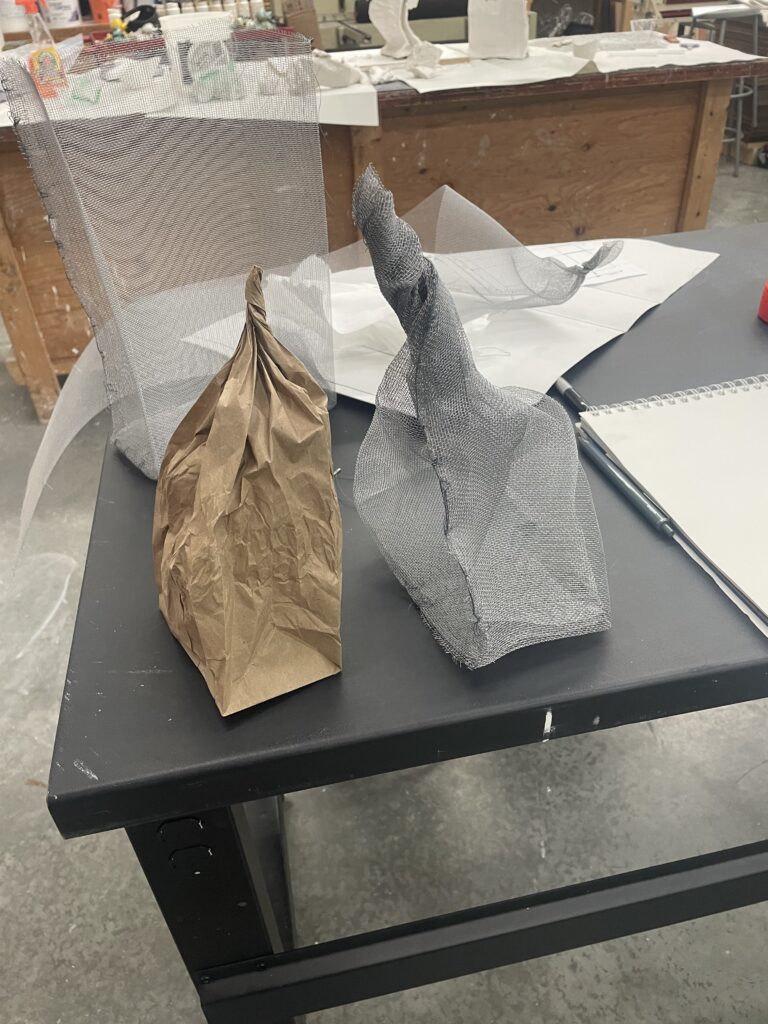
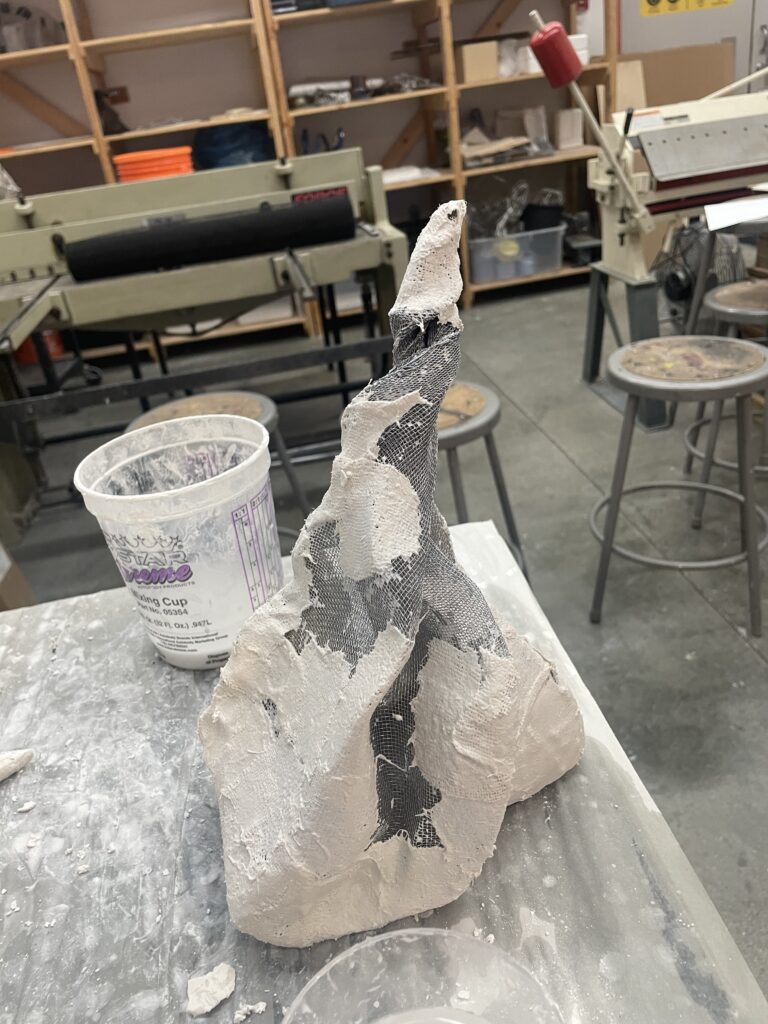
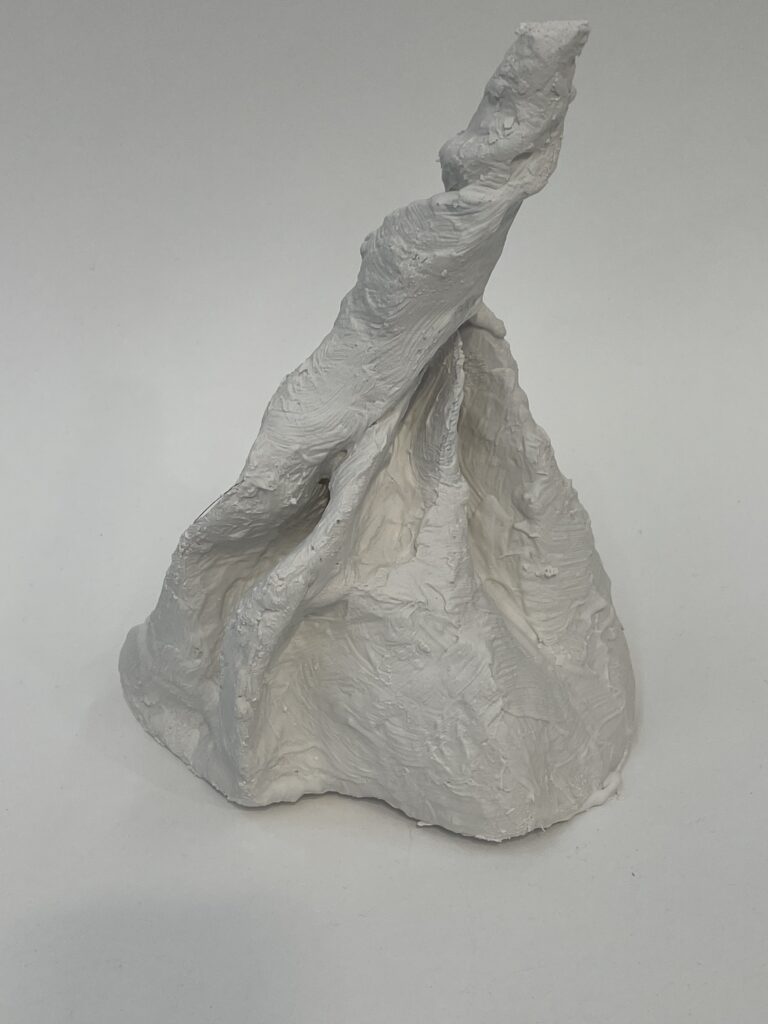
Our first assignment in unit was to create a plaster on wire frame copy of a paper bag. Starting with a paper bag we explored what sort of interesting gestures we could create. We the recreated the paper bag using wire mesh and twisted the wire mesh frame to a similar shape to the paper bag. Plaster impregnated tape was applied to the wire frame and then the whole surface was covered with plaster. The stage where I have reached at the time of writing is the basic shape of the bag, but it will take careful sanding to make the surface texture similar to that of the bag. The twisted top to the bag made covering the frame with tape quite a challenge and I discussed this with Jeff, who suggested that I apply the plaster when it was still very wet and before it had started transitioning to let it flow into all the nooks and crannies.
FIN 130 Unit 1
UNIT 1 – STUDIO EXERCISE 1
Wire Frame
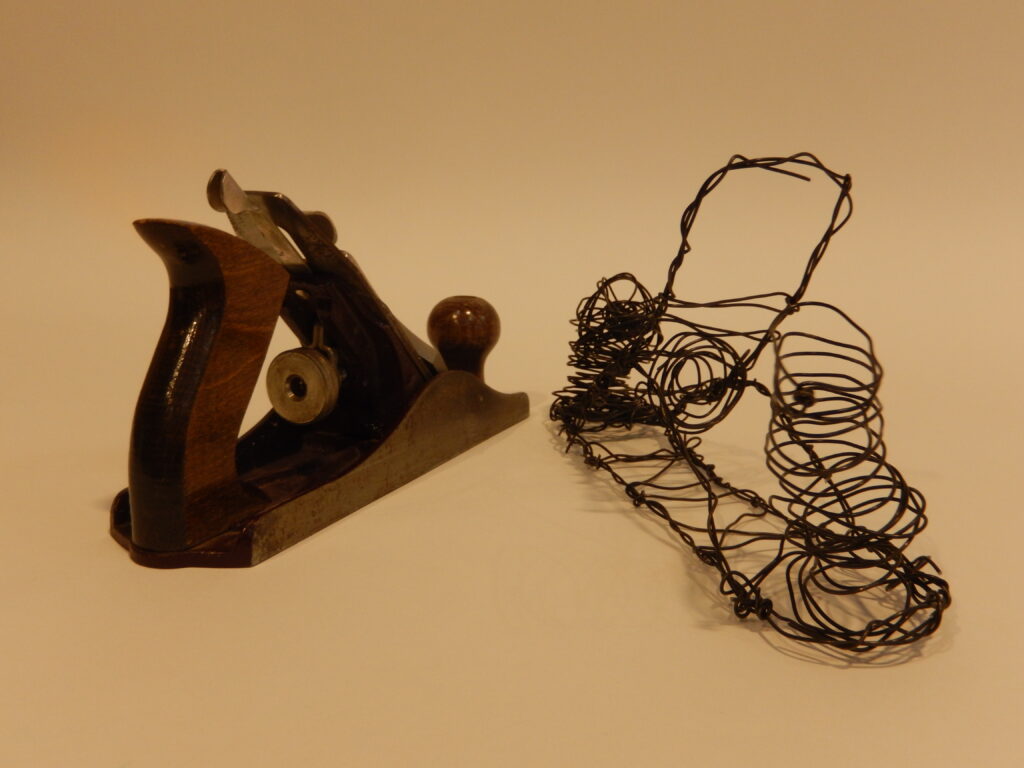
So we’re off and running with Unit 1. The key concept for studio exercise 1 is to examine a 3D object, make 2D sketches and then translate the images back into 3D using wire. For my 3D object I chose a block plane from the tool cabinet. This was an easy choice for me for several reasons. The object itself resonates with me as I have spent a lifetime in carpentry and construction, I like the combination of the softer curvilinear wood material for the main handle and the knob handle juxtaposed with the angular metal components, and the object has a human craftsmanship connection through its use as a tool which shapes and modifies other materials.
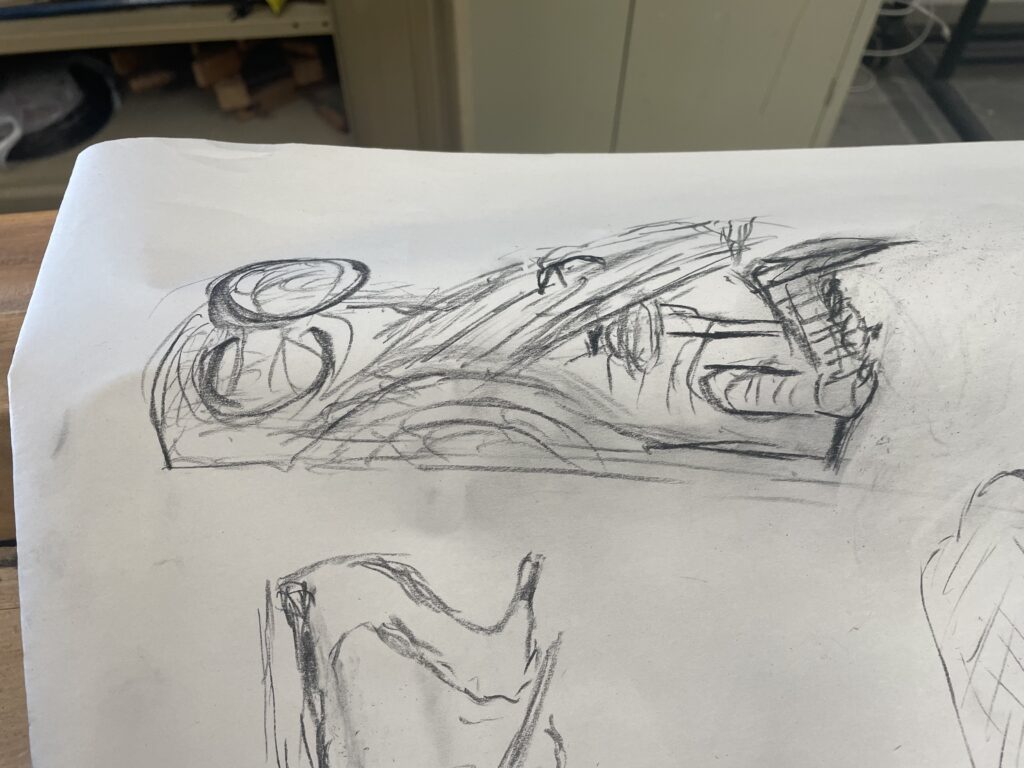
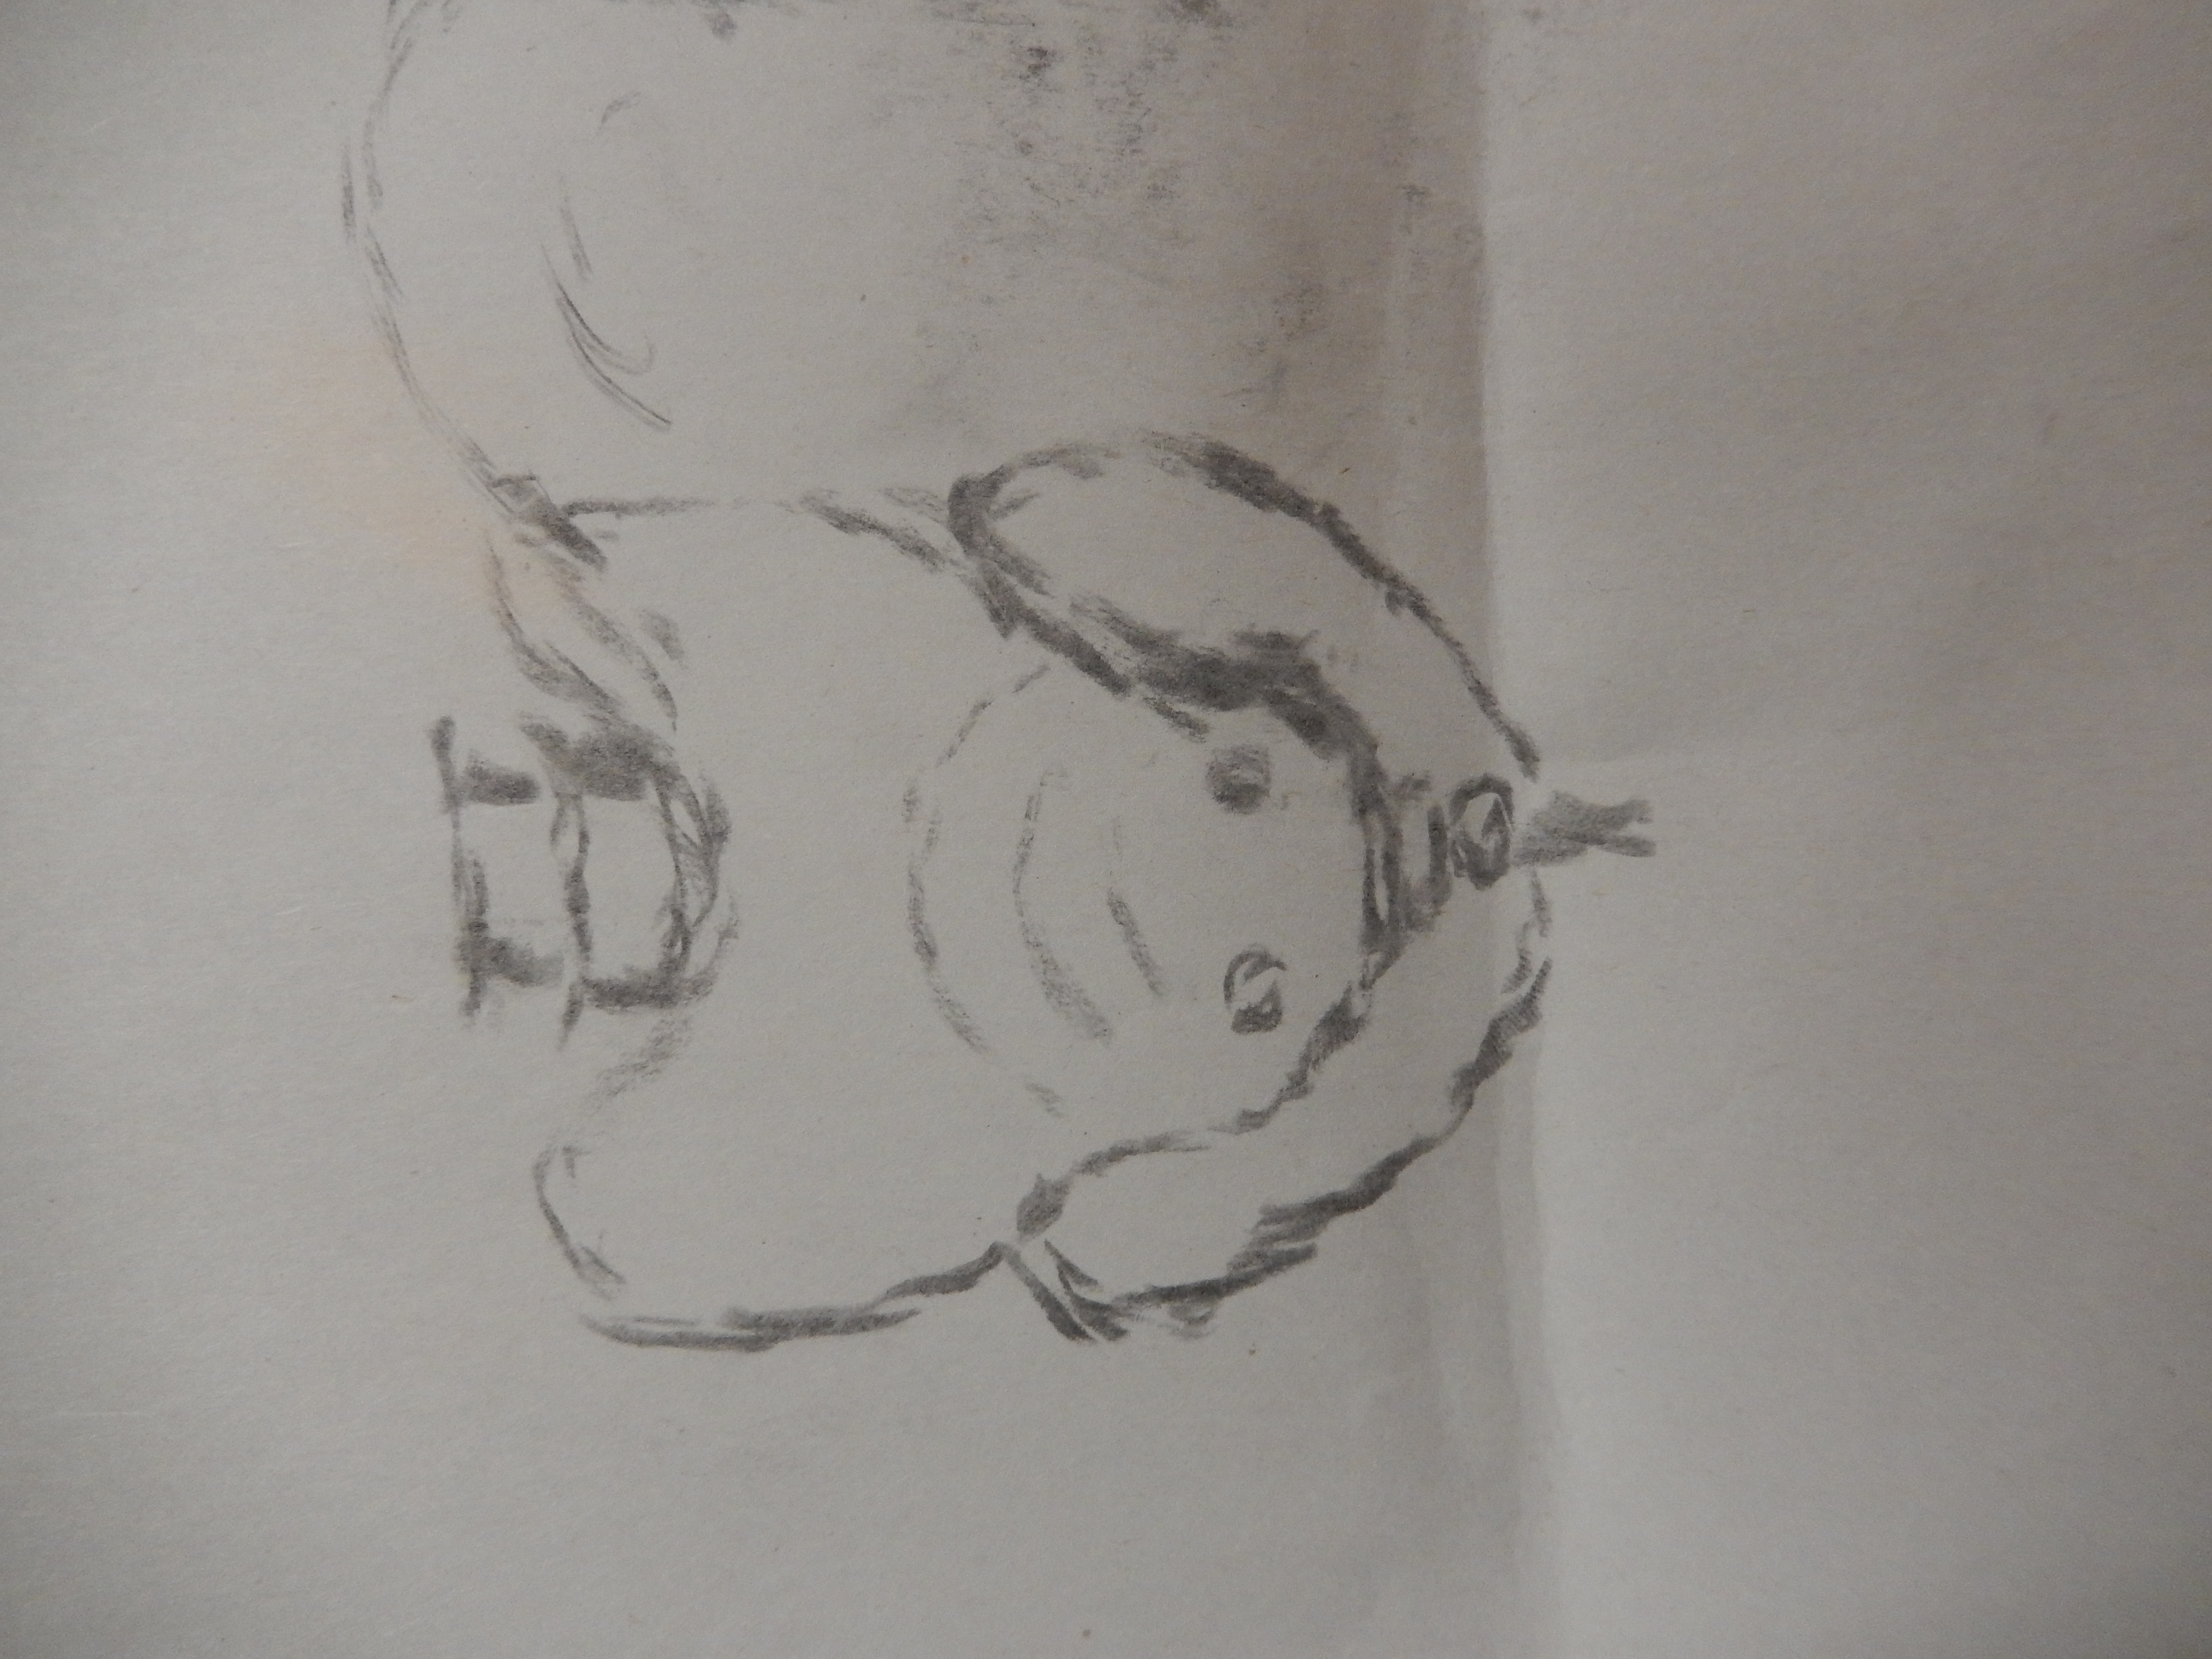
First process was a few quick charcoal sketches – not my strong suit – which were made from several angles and then identifying those key properties of my chosen object – solid; heavy; functional. Then an examination of the properties of the wire. It is reasonably rigid, it can be bent with pliers, but it does not twist with ease for joining sections. This has the potential to cause of few problems with the first design I had in mind. Some of the examples we looked at are quite organic and continuous but the structure of this object doesn’t lend itself to that approach – I am going to have to make individual components and connect them together.


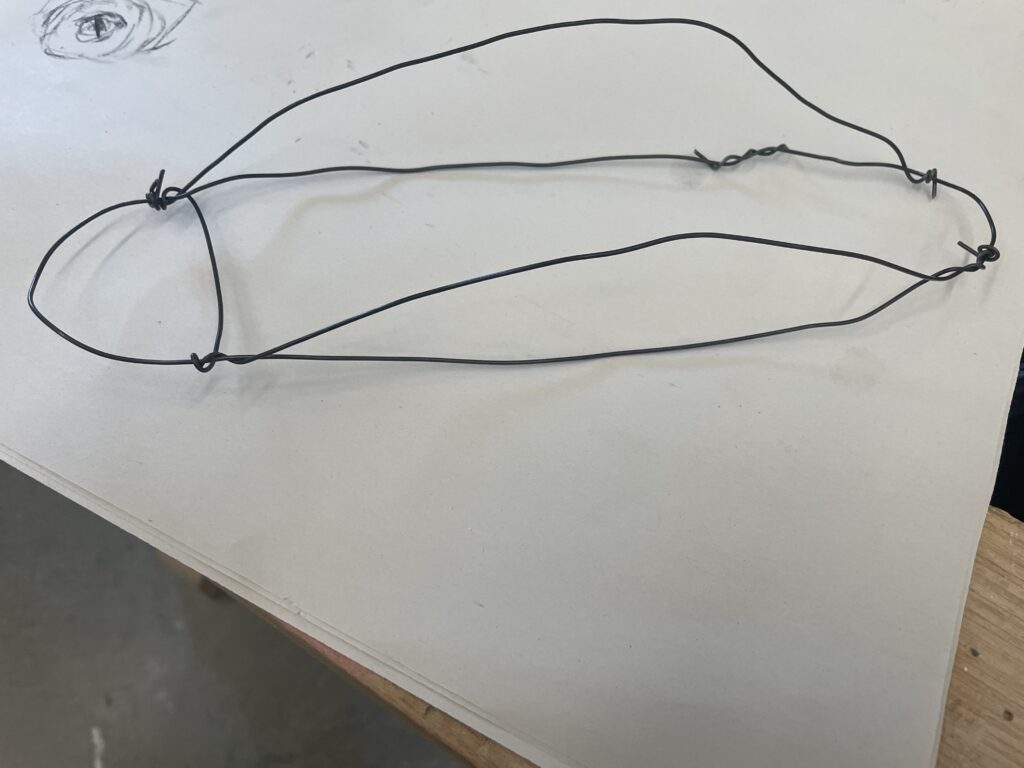
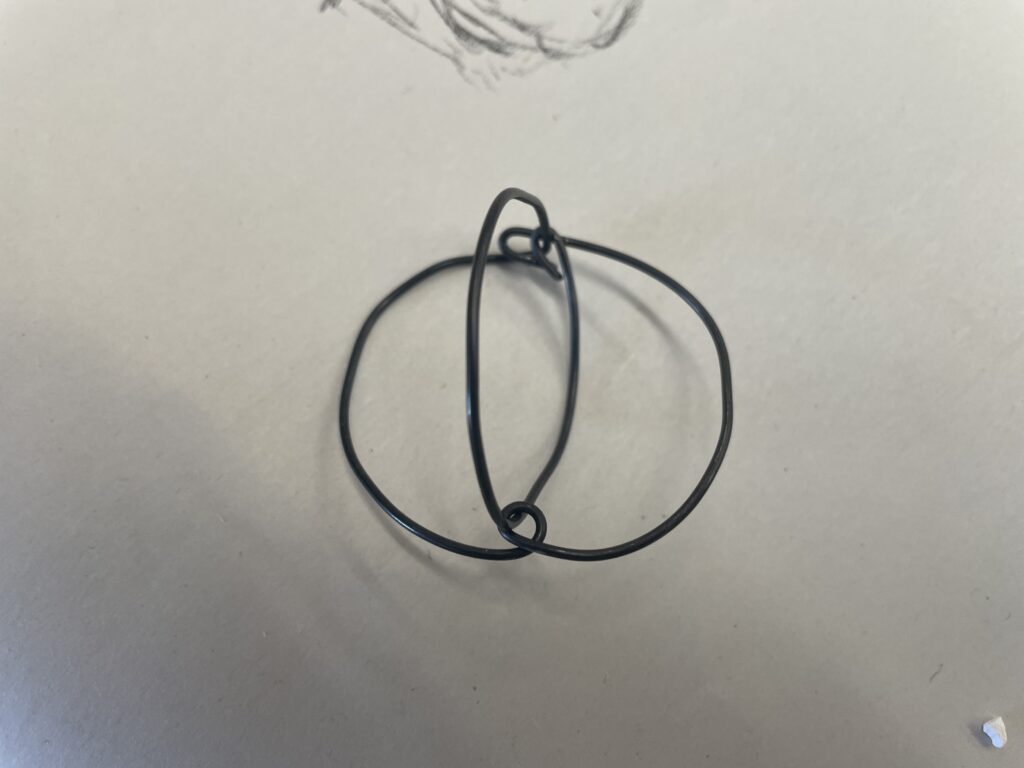
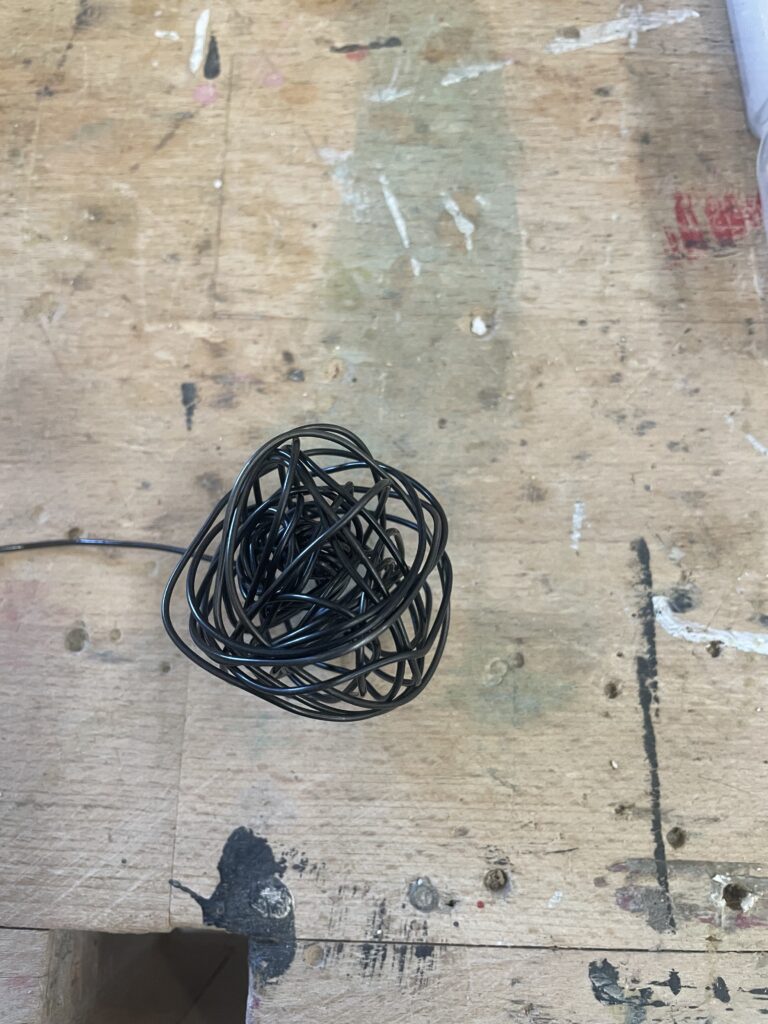
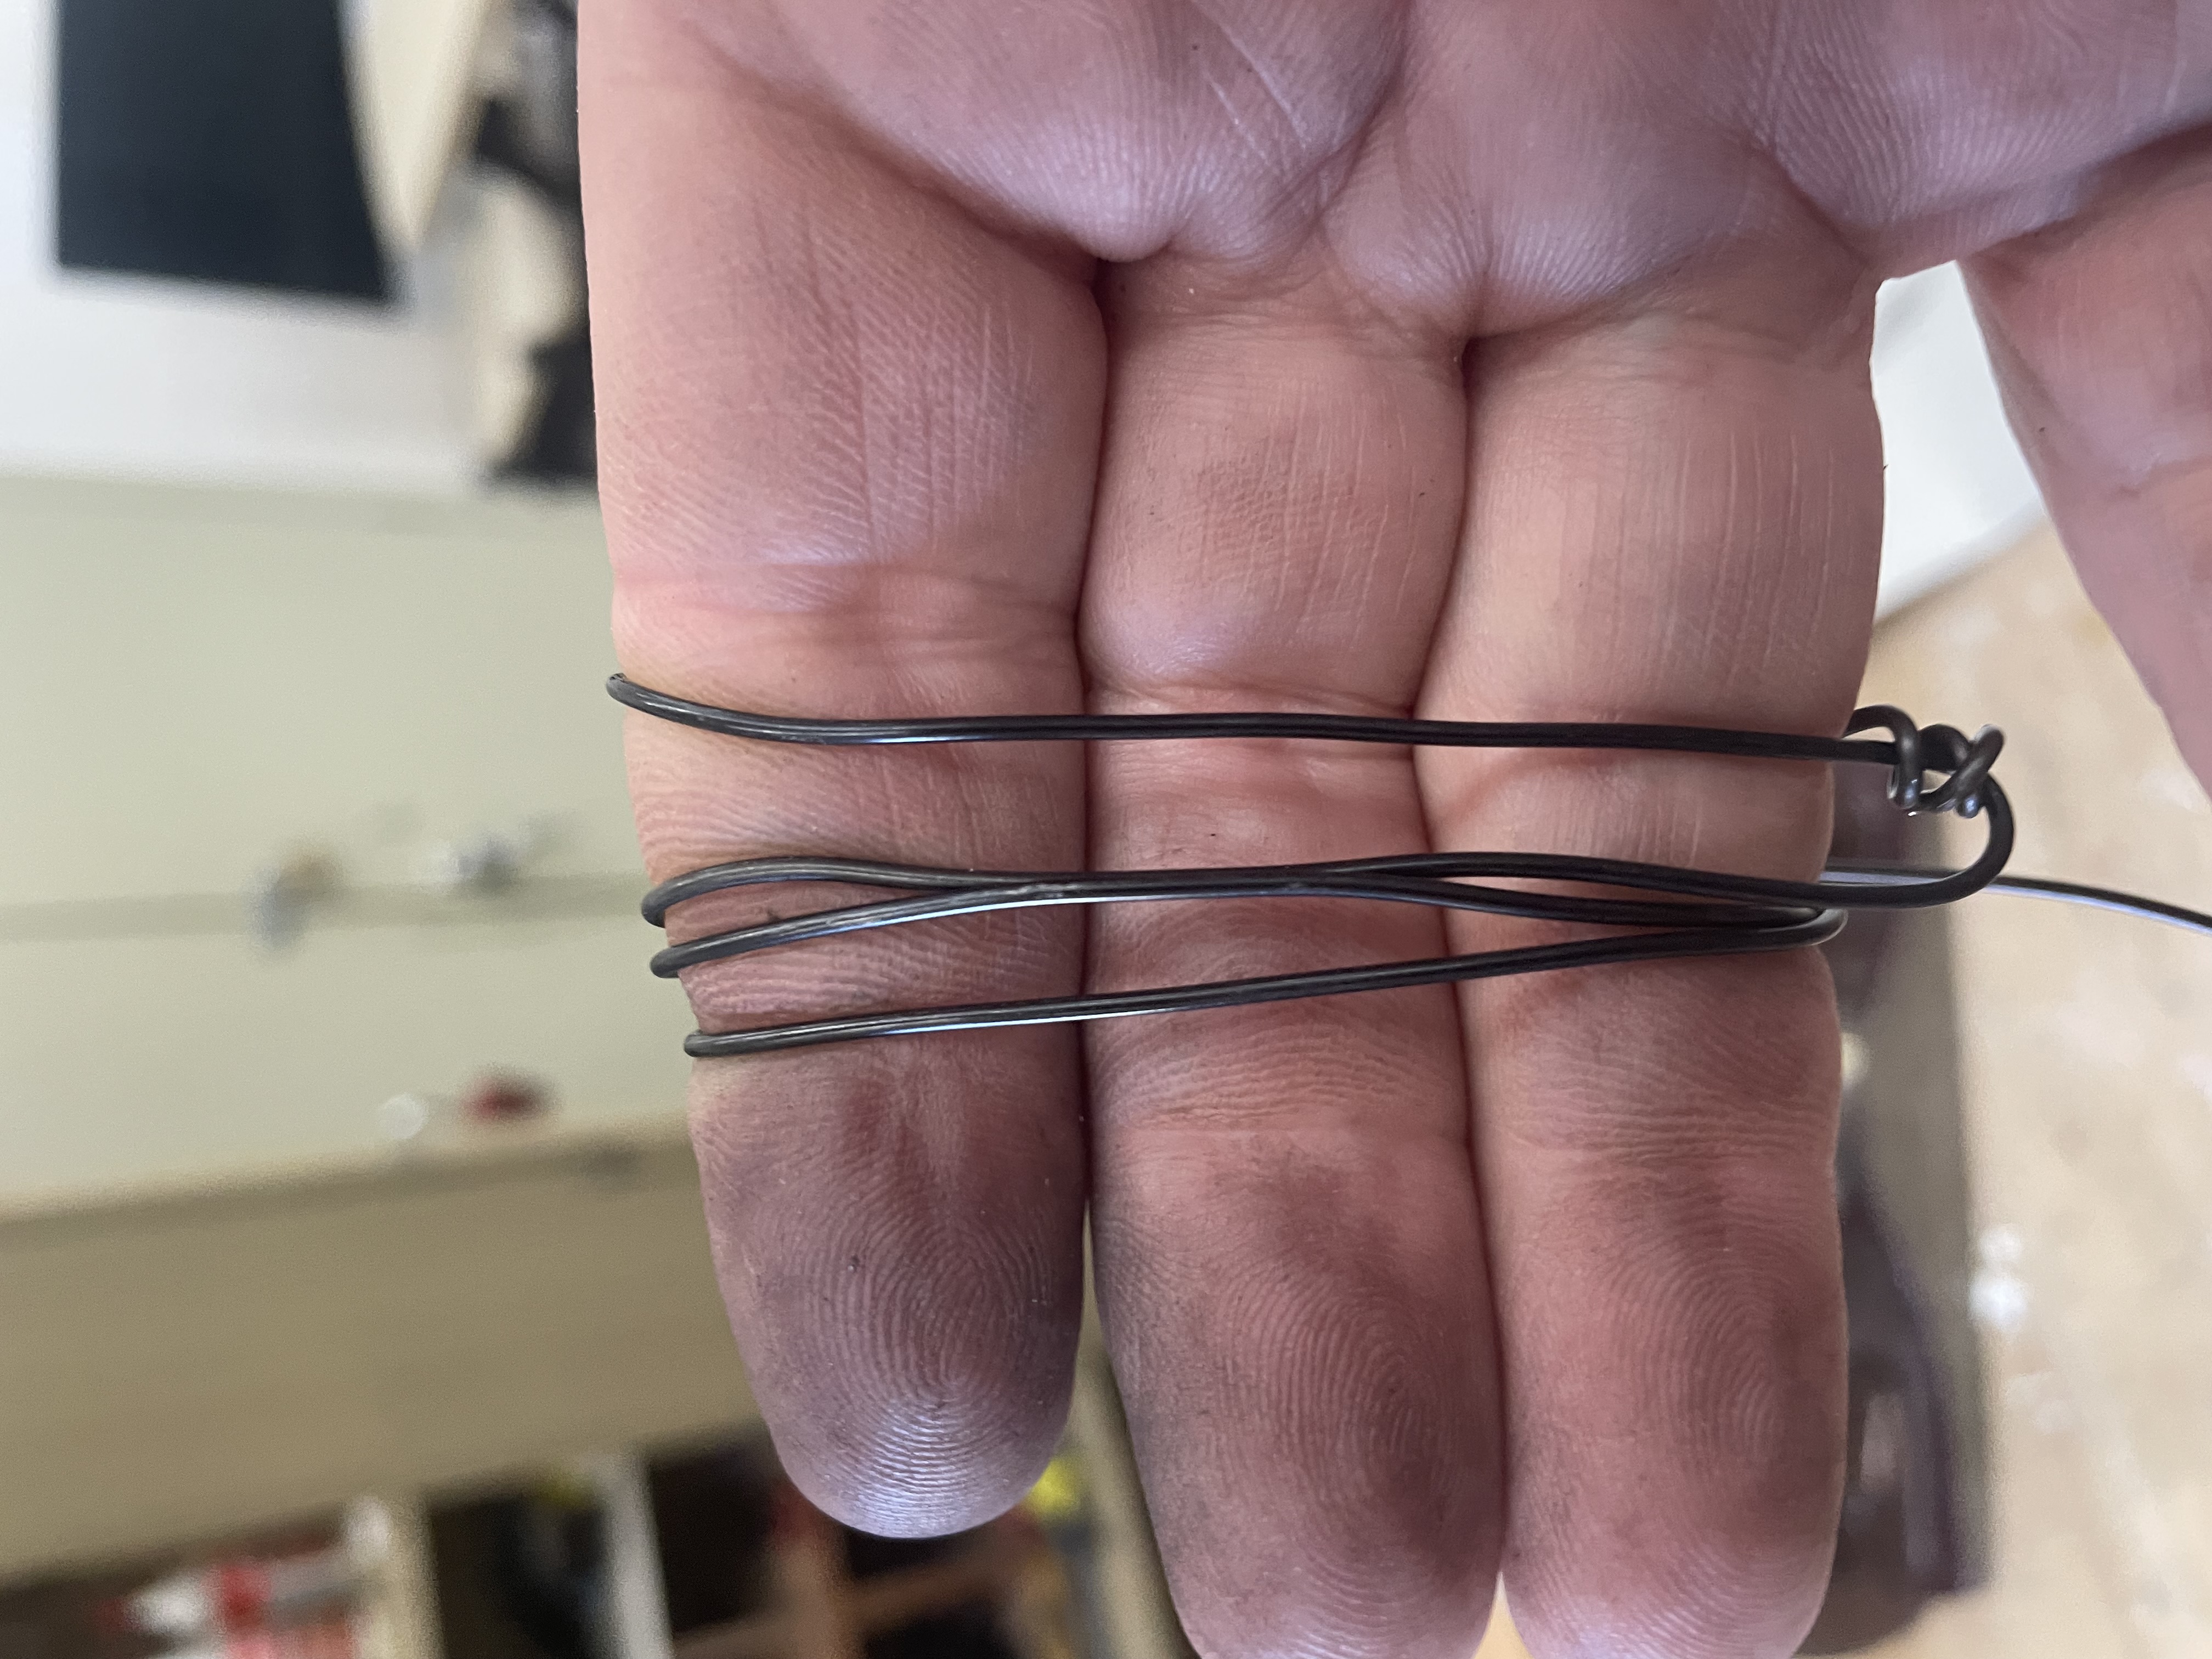
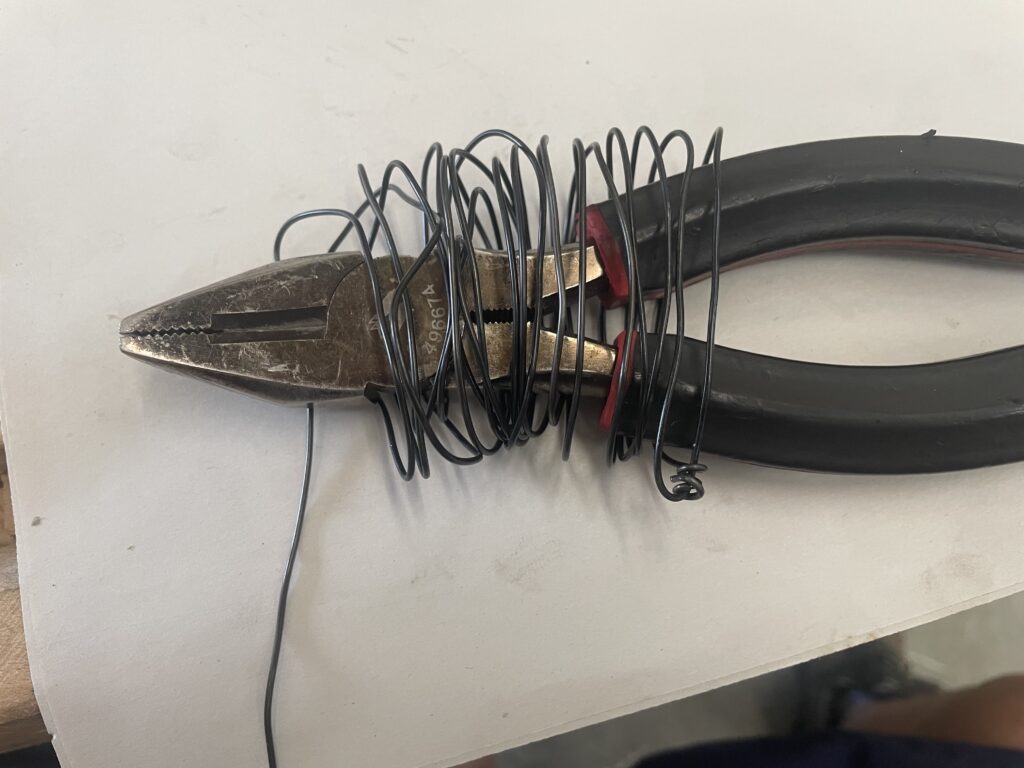
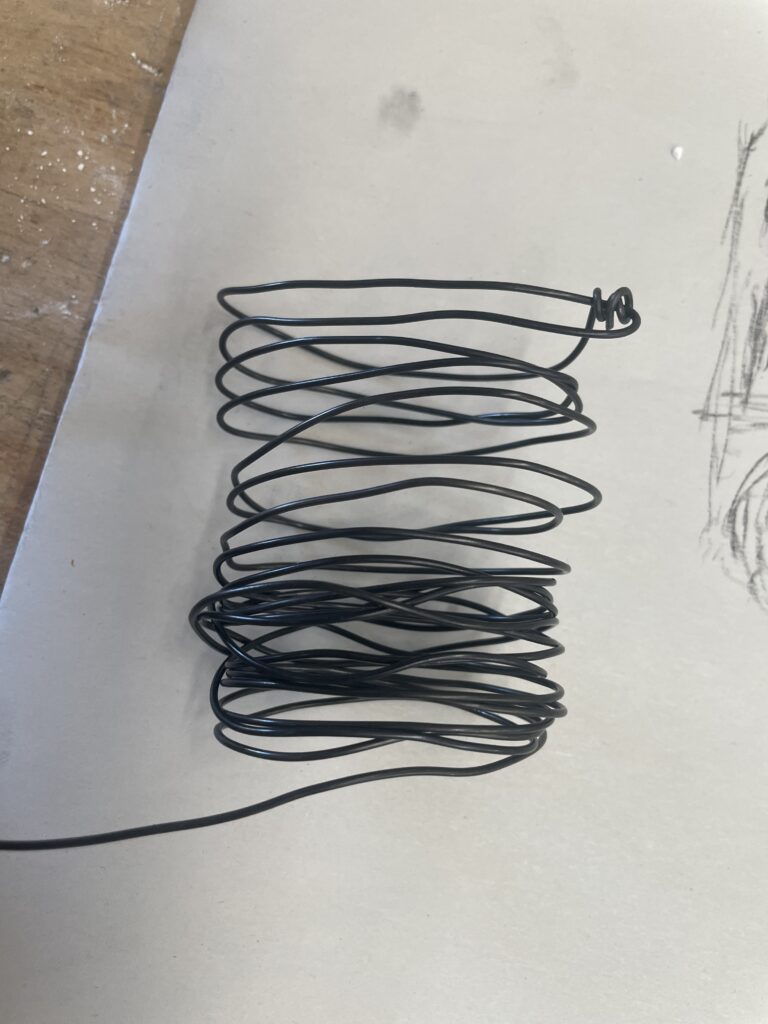
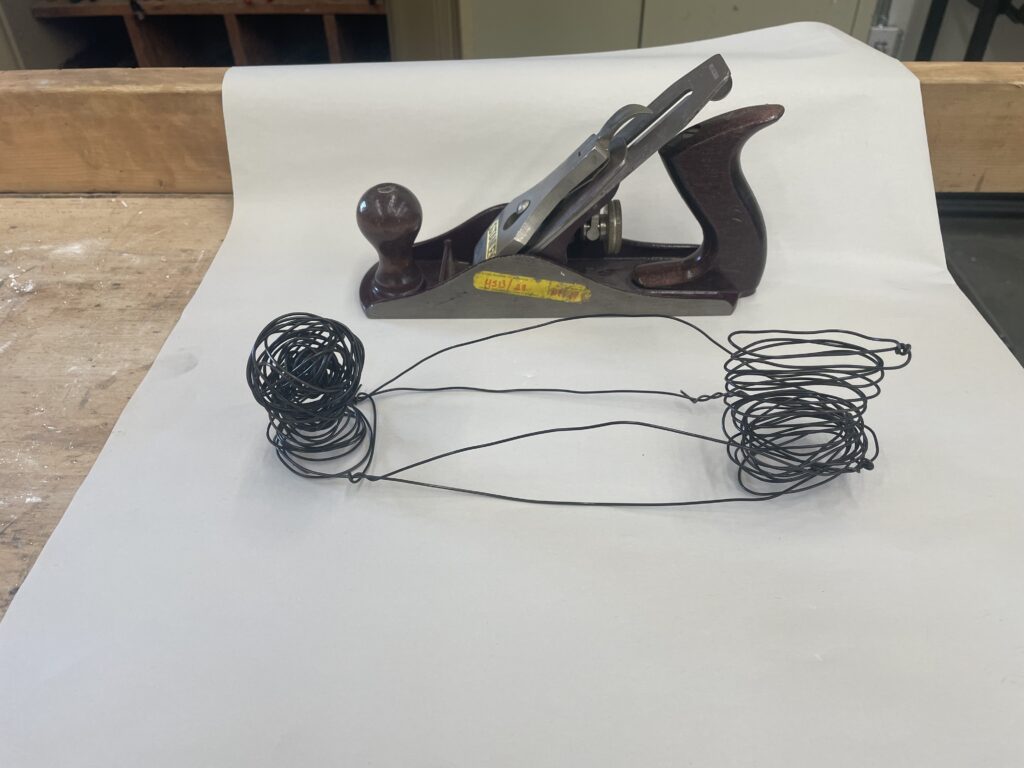
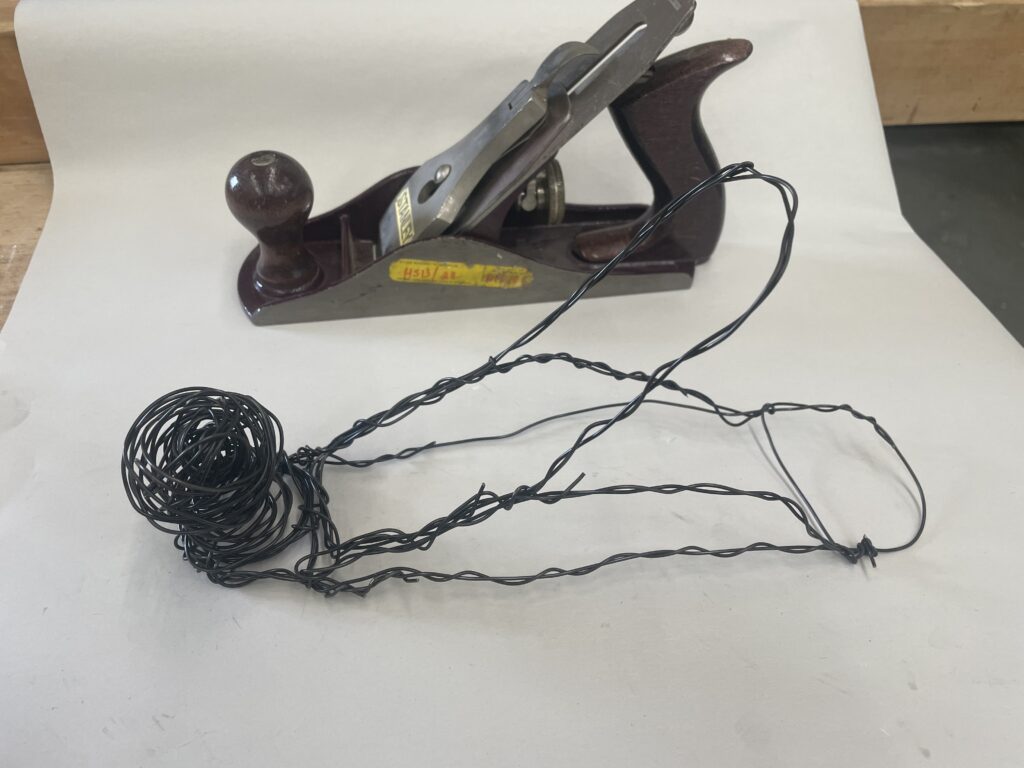

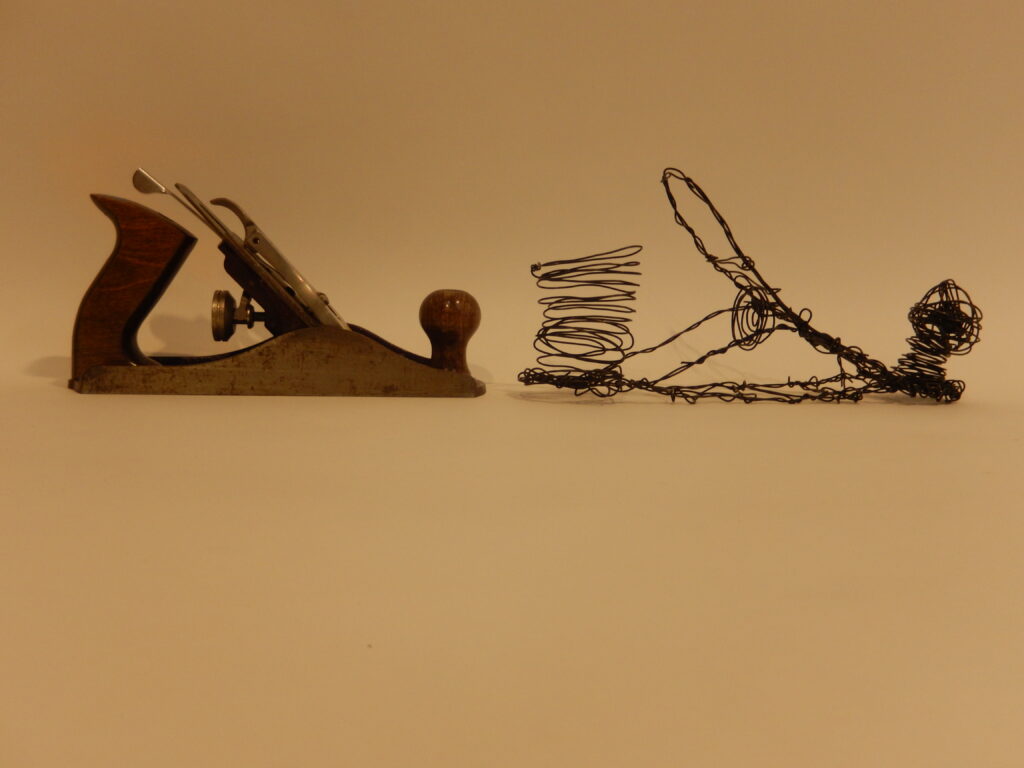
The images above outline the process. I found a single wire in the body shape was insufficiently rigid for my purpose. I had hoped to make a very minimalist shape with as few wires as possible – an impressionist plane – but this didn’t look like it was going to work out so I started looking at forming both the handles. The basic wire sphere for the front handle lacked substance so I wound one. For the rear handle I found using a formwork such as the pliers made shaping easier. Doubling the wire and twisting together significantly increased rigidity. At the end of Day 1 this is where I am at .
On the second day I added a knurled adjustment screw and I feel this project is now complete
STUDIO EXERCISE 2
Frankenstein’s Monster
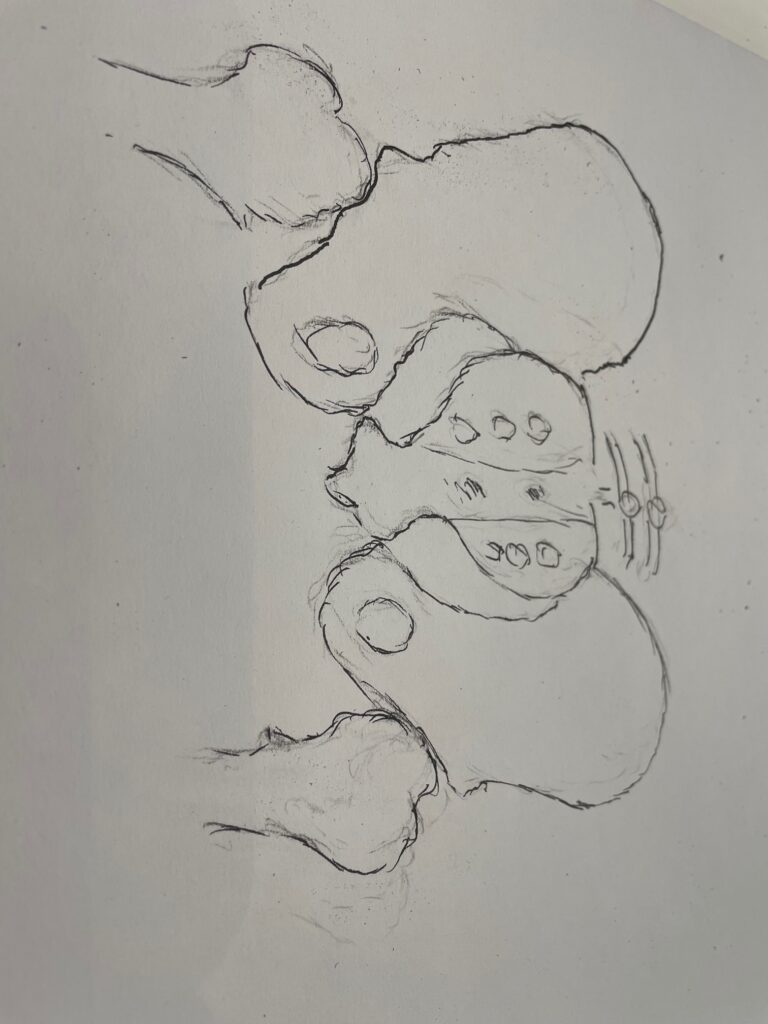
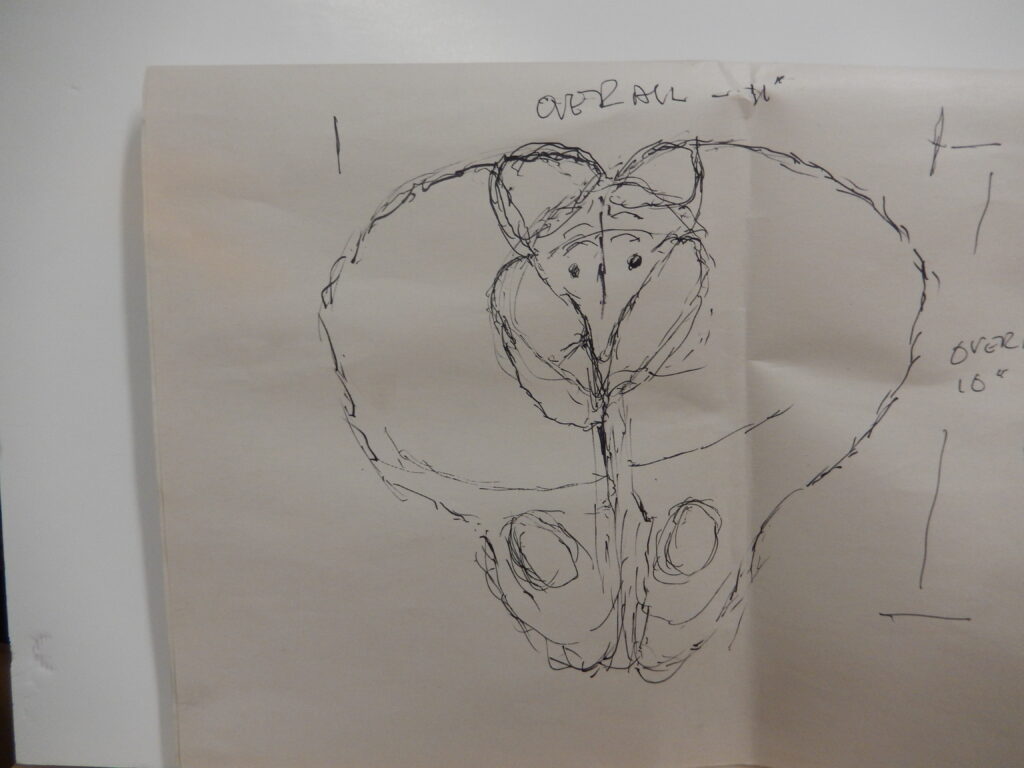
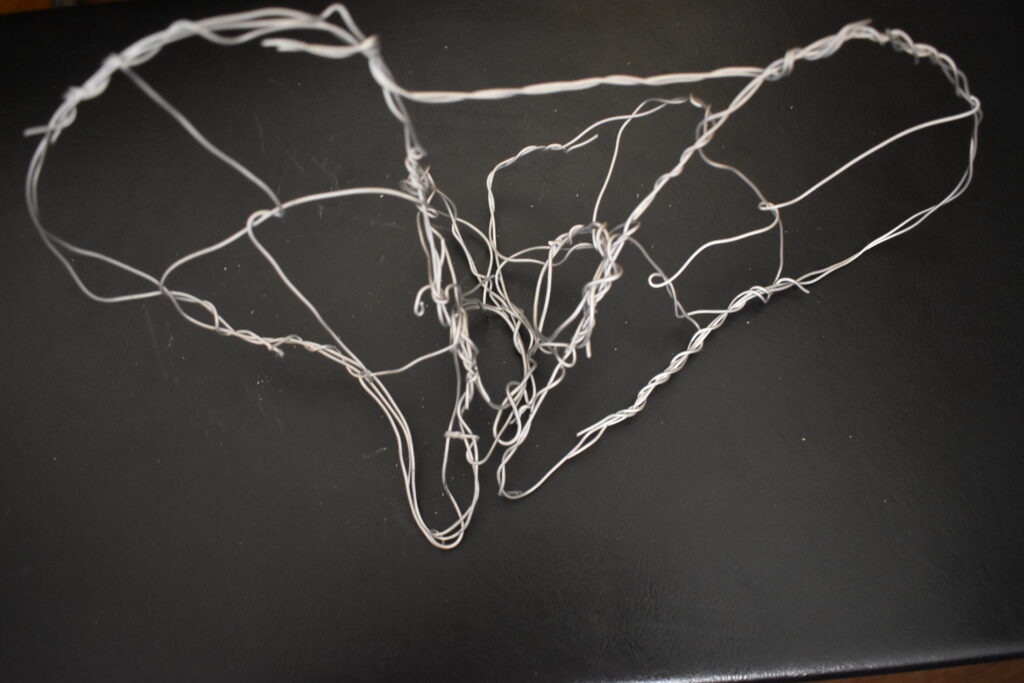
The second studio project is to assemble a skeleton from individual wire frame components. We were invited to select the body part we wanted to work on and I selected the pelvis, as this is the core of the whole skeleton. The pelvic bones are substantial and the challenge would be to create a wire frame that gave that sense of substance. The exercise also required a degree of collaboration as the group making the lower spine and sacrum would have to connect to the pelvis, as would the people making the femur. As usual we started with a few sketches of the 3d model. The wire to be used was sculpting wire – which had the advantage of being more malleable compared with the tie wire – but from the perspective of creating a strong pelvis was less suitable.
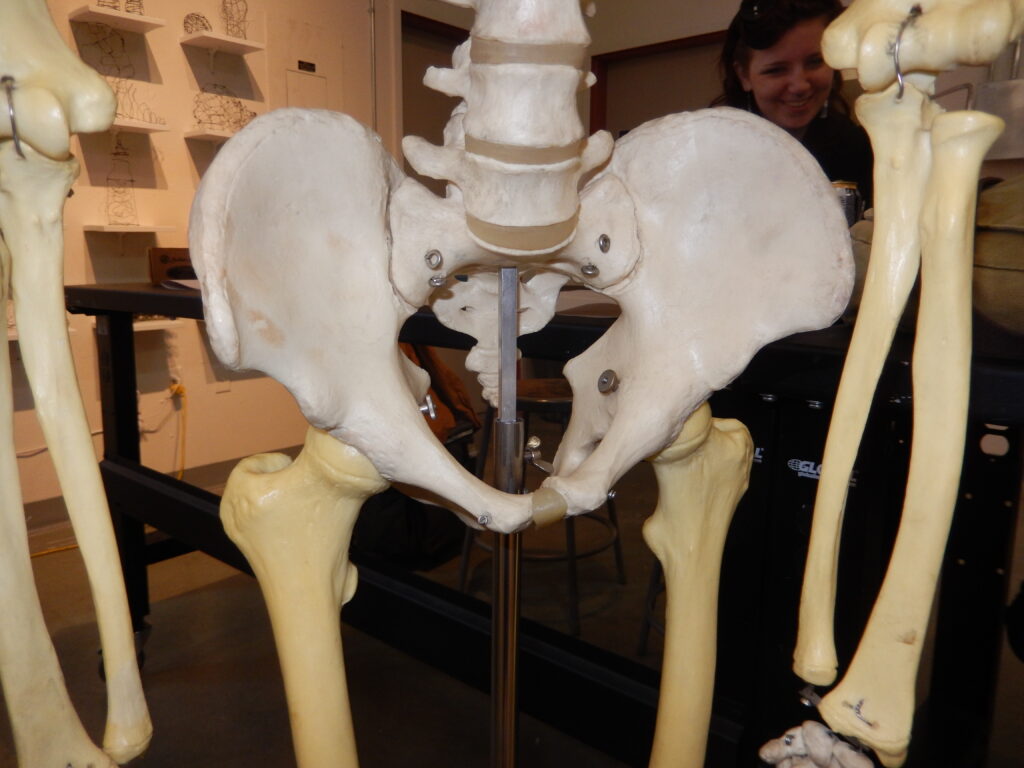
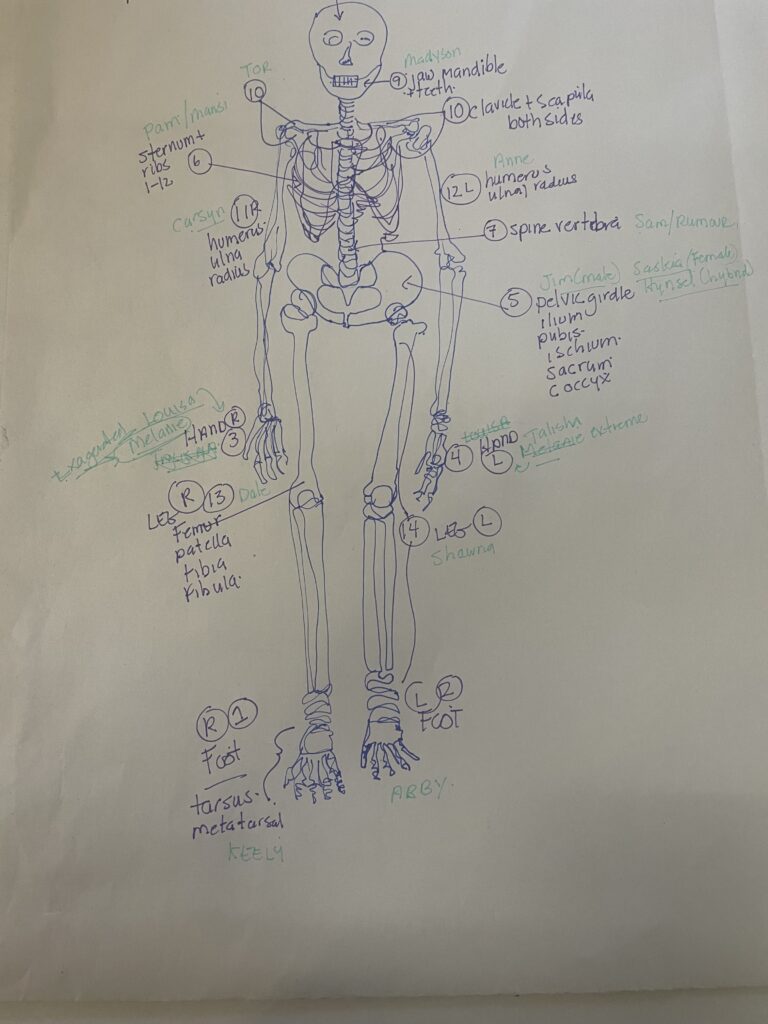
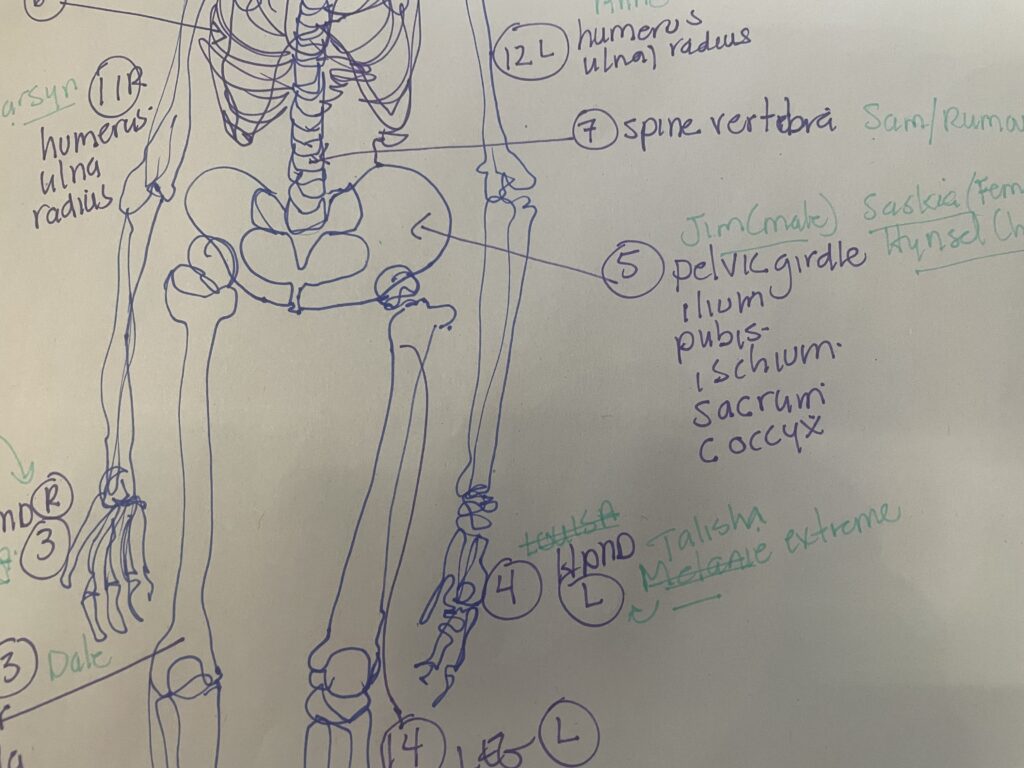
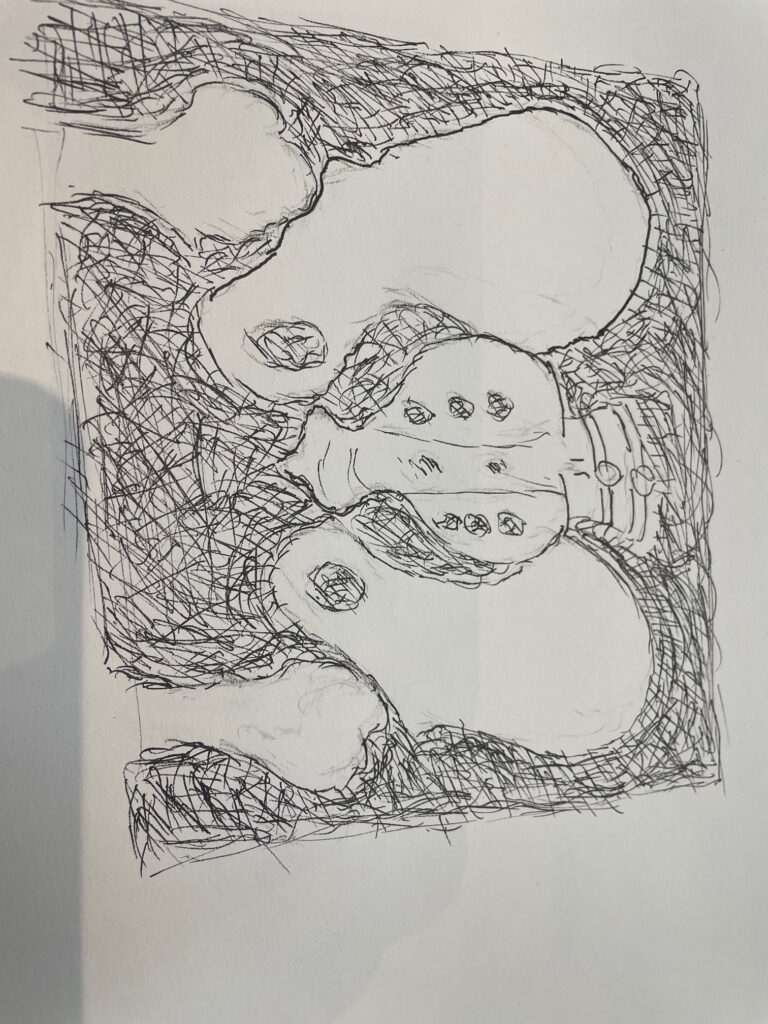
The pelvis is quite complex as it comprises the ilium and ischium which are twisted. The group making the spine elected to make the sacrum and coccyx so the pelvis needed to be constructed in such a way that they could make their connection. To create a strong frame as noted previously it was necessary to use tie wire and a lot of twisting, but the sculpting wire will be used to add substance to the components. In order to stay with the overall look and feel the tie wire will need to be sprayed a metallic silver.
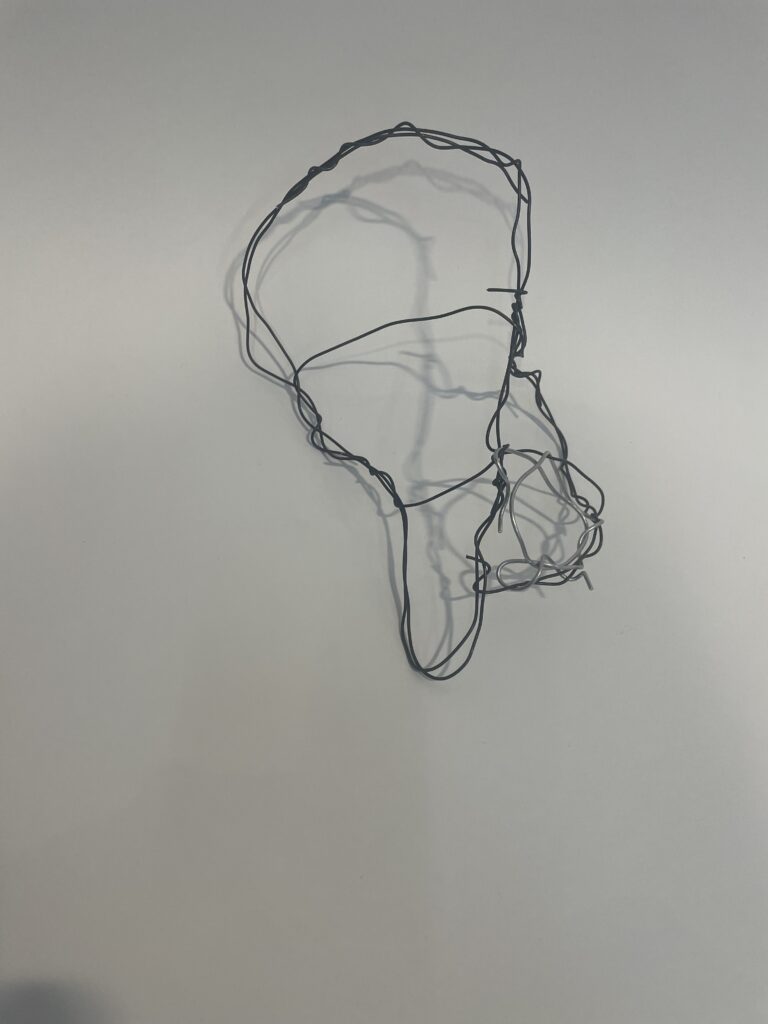
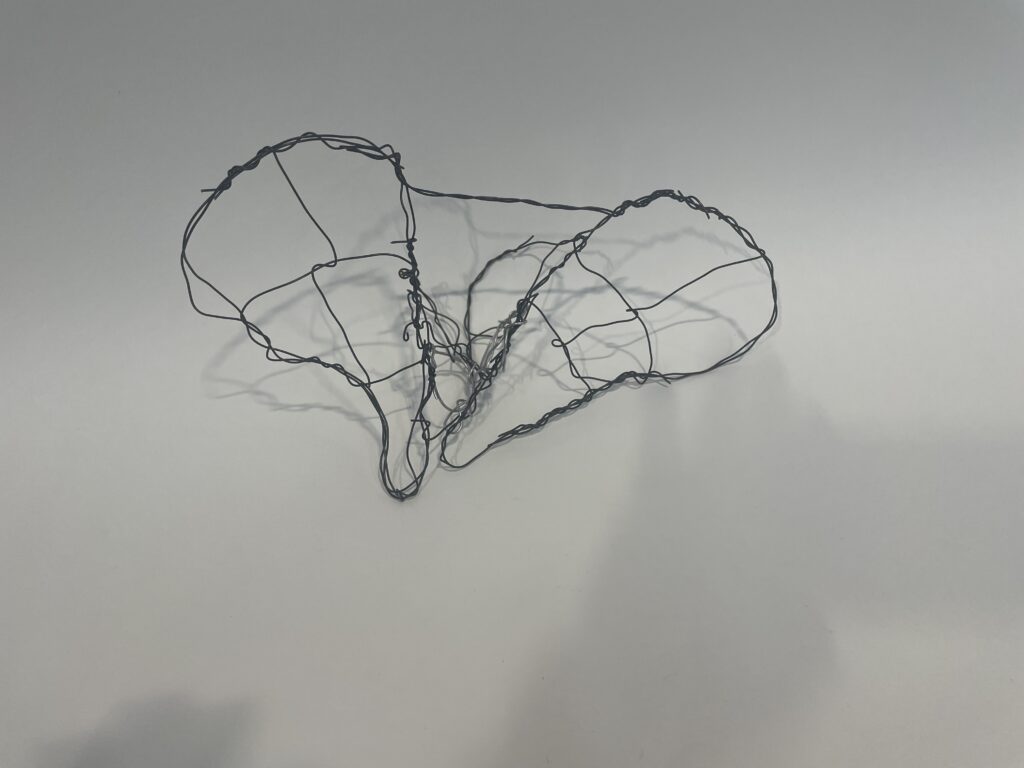
Have now sprayed the basic form and feel it will be much more in keeping with the rest of the skeleton as the silver spray is very similar to the color of the sculpting wire, however I am very glad that made the basic shape with tie wire as it is so much more rigid and substantial than the sculpting wire
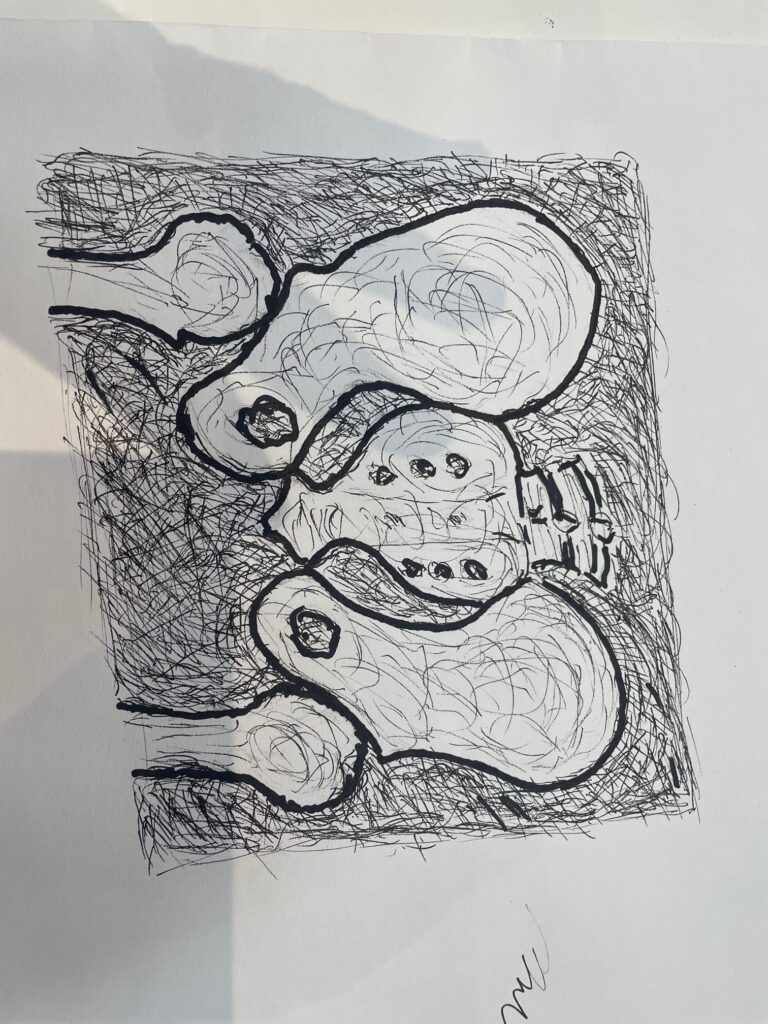
The final phase is to give more substance to the outline to create a more dense ilium and ischium
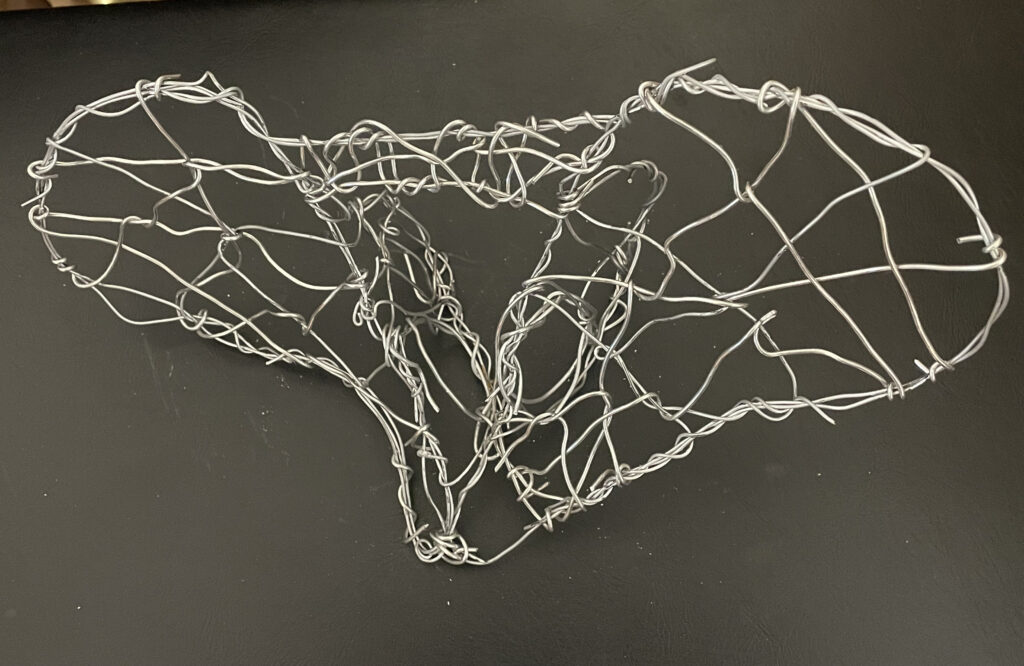
Hopefully this has captured the strength of the pelvis at the core of our skeleton