UNIT 1 – STUDIO EXERCISE 1
Wire Frame
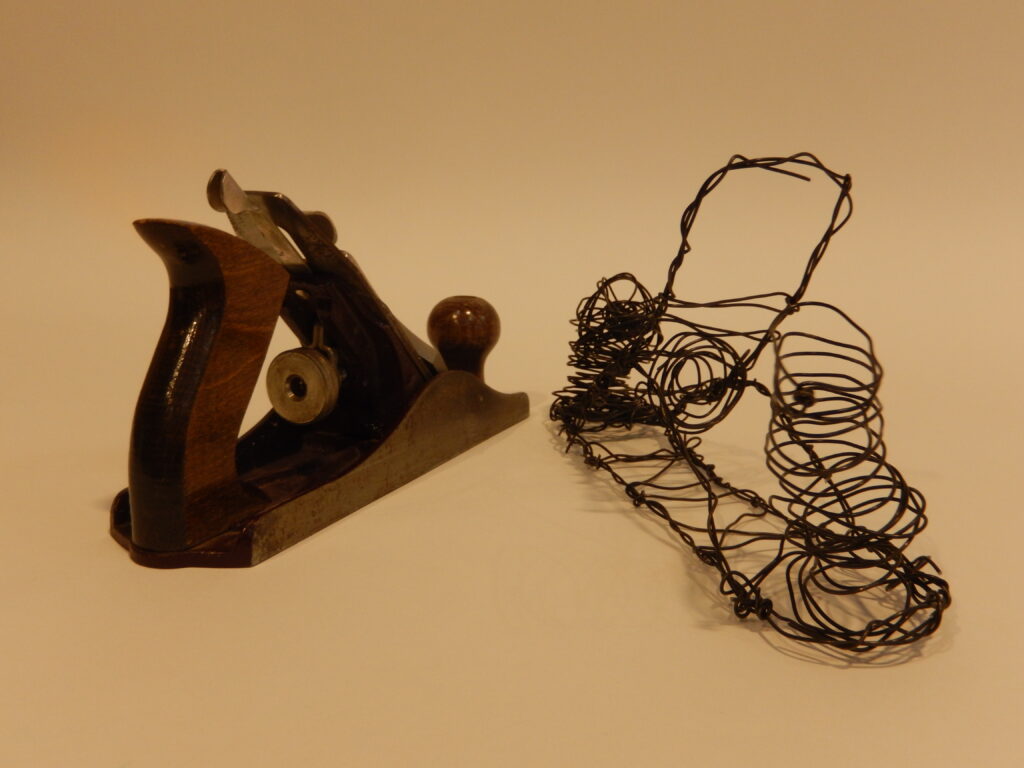
So we’re off and running with Unit 1. The key concept for studio exercise 1 is to examine a 3D object, make 2D sketches and then translate the images back into 3D using wire. For my 3D object I chose a block plane from the tool cabinet. This was an easy choice for me for several reasons. The object itself resonates with me as I have spent a lifetime in carpentry and construction, I like the combination of the softer curvilinear wood material for the main handle and the knob handle juxtaposed with the angular metal components, and the object has a human craftsmanship connection through its use as a tool which shapes and modifies other materials.
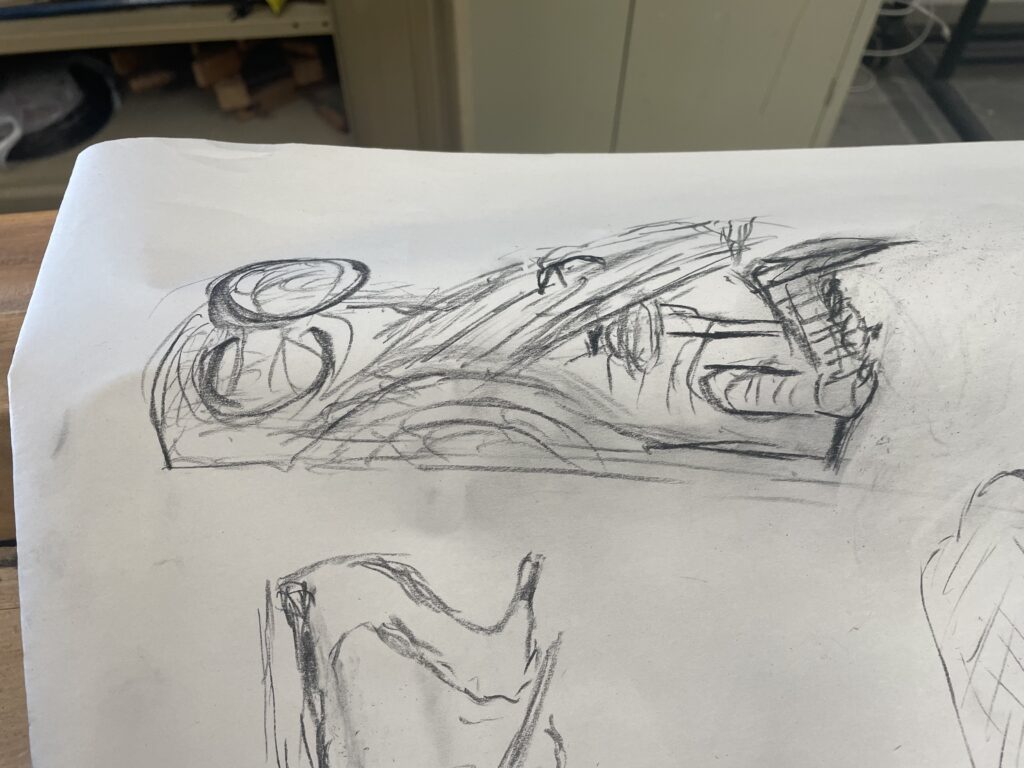
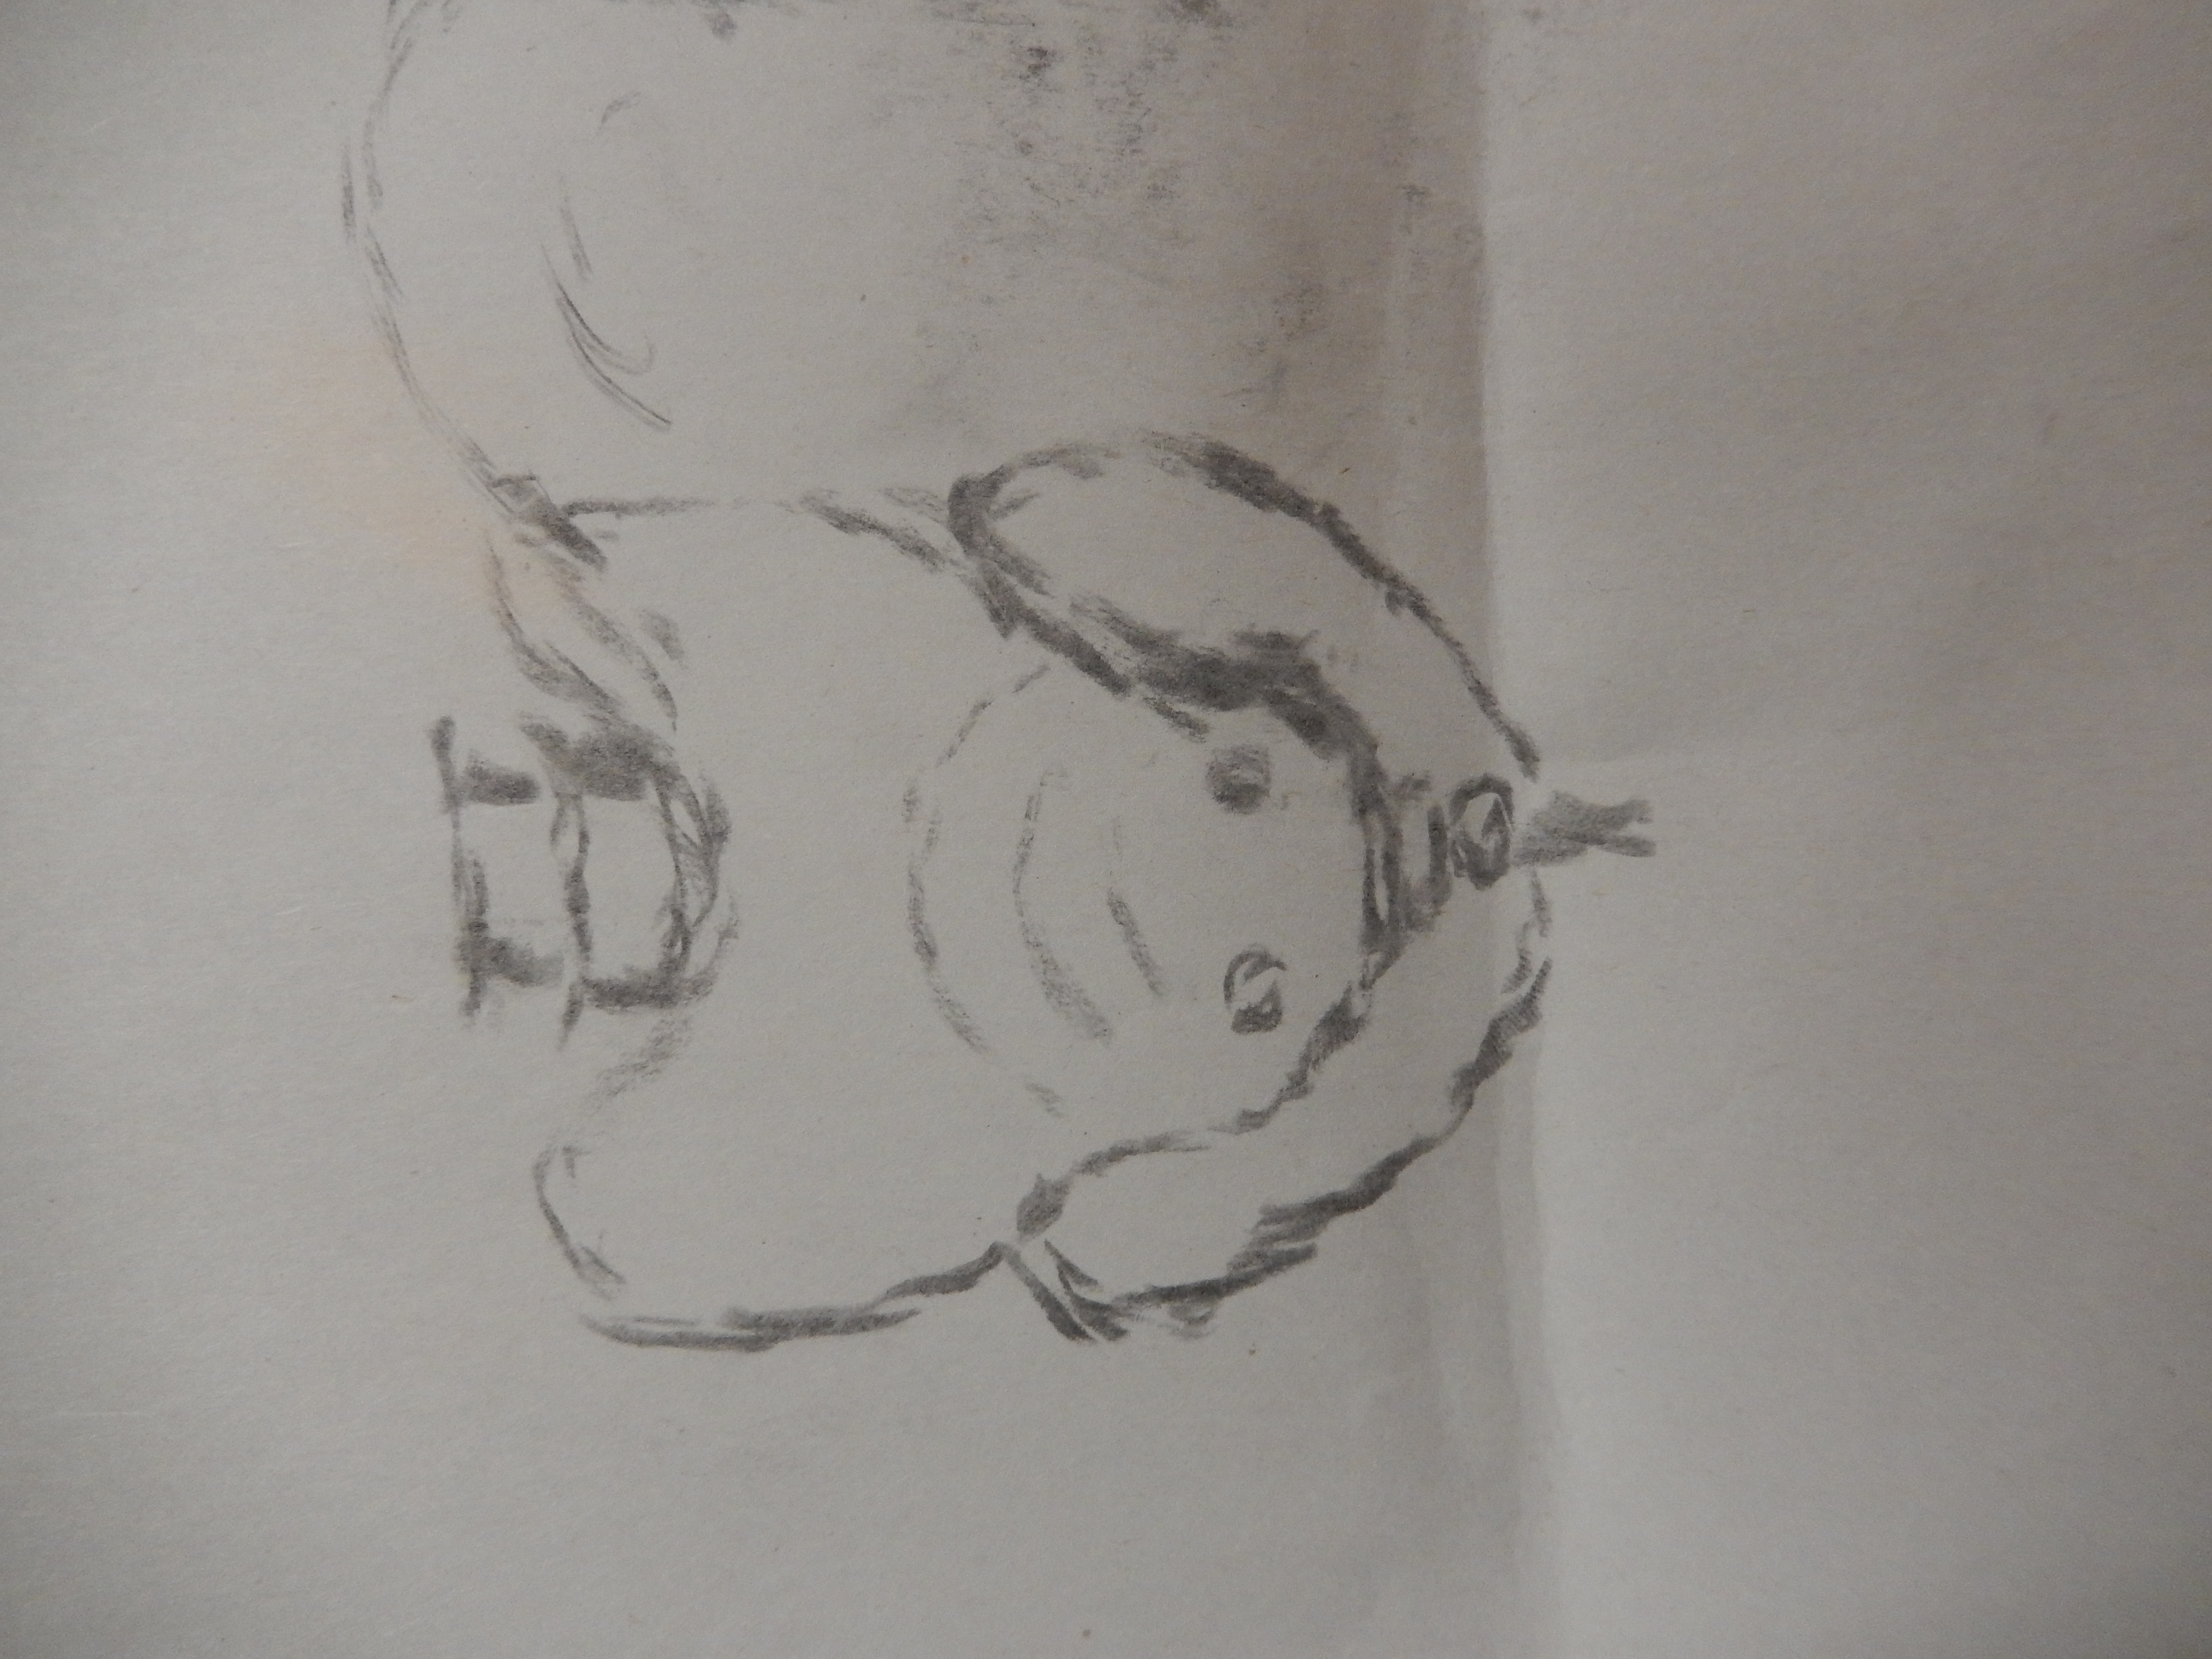
First process was a few quick charcoal sketches – not my strong suit – which were made from several angles and then identifying those key properties of my chosen object – solid; heavy; functional. Then an examination of the properties of the wire. It is reasonably rigid, it can be bent with pliers, but it does not twist with ease for joining sections. This has the potential to cause of few problems with the first design I had in mind. Some of the examples we looked at are quite organic and continuous but the structure of this object doesn’t lend itself to that approach – I am going to have to make individual components and connect them together.


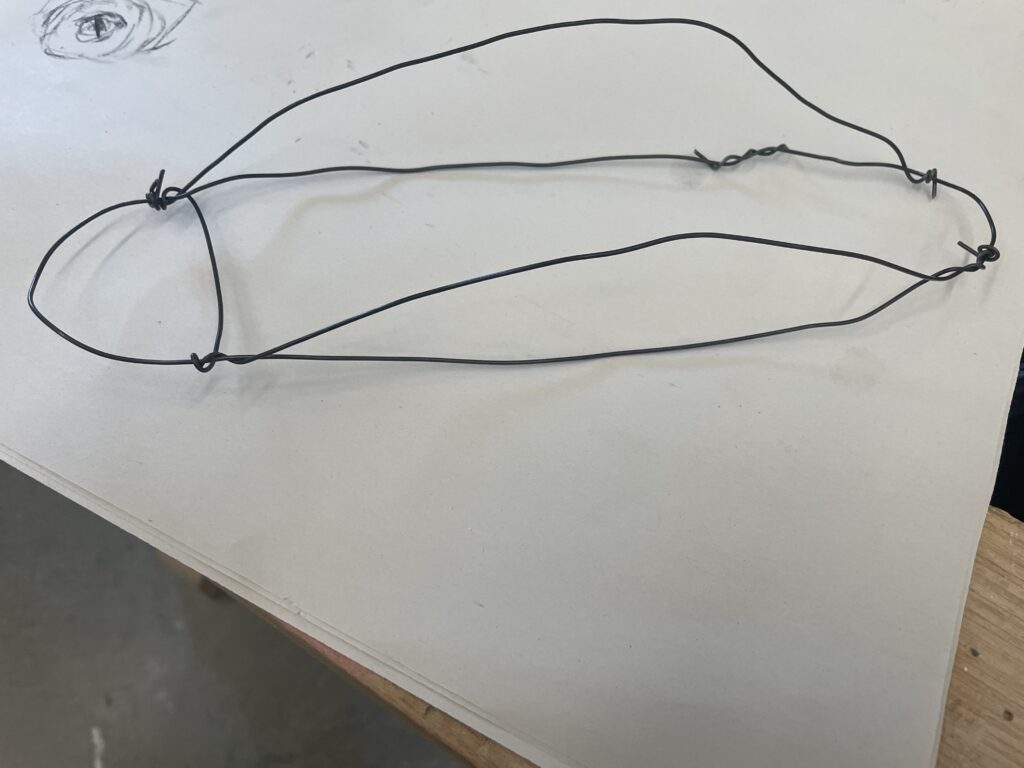
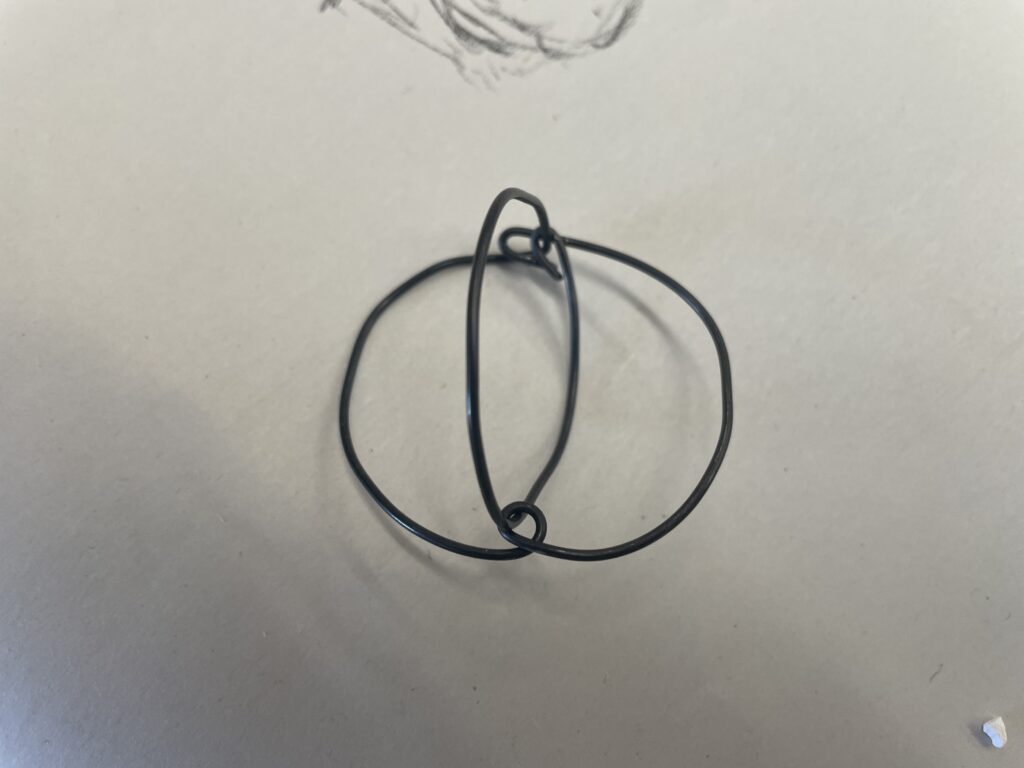
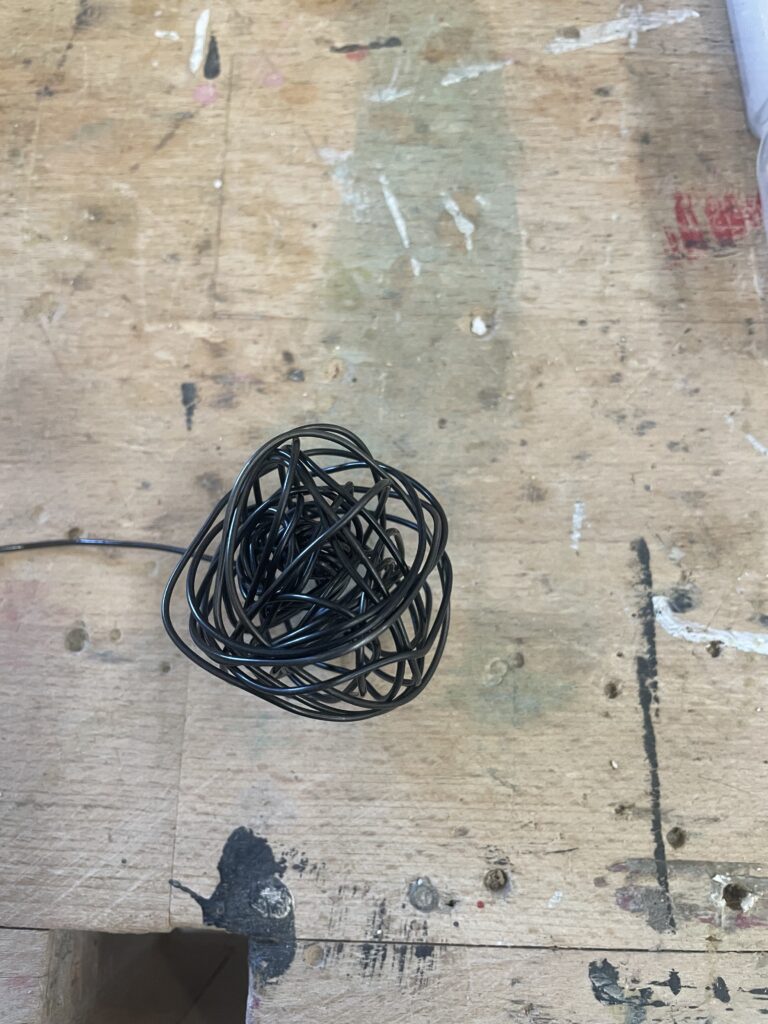
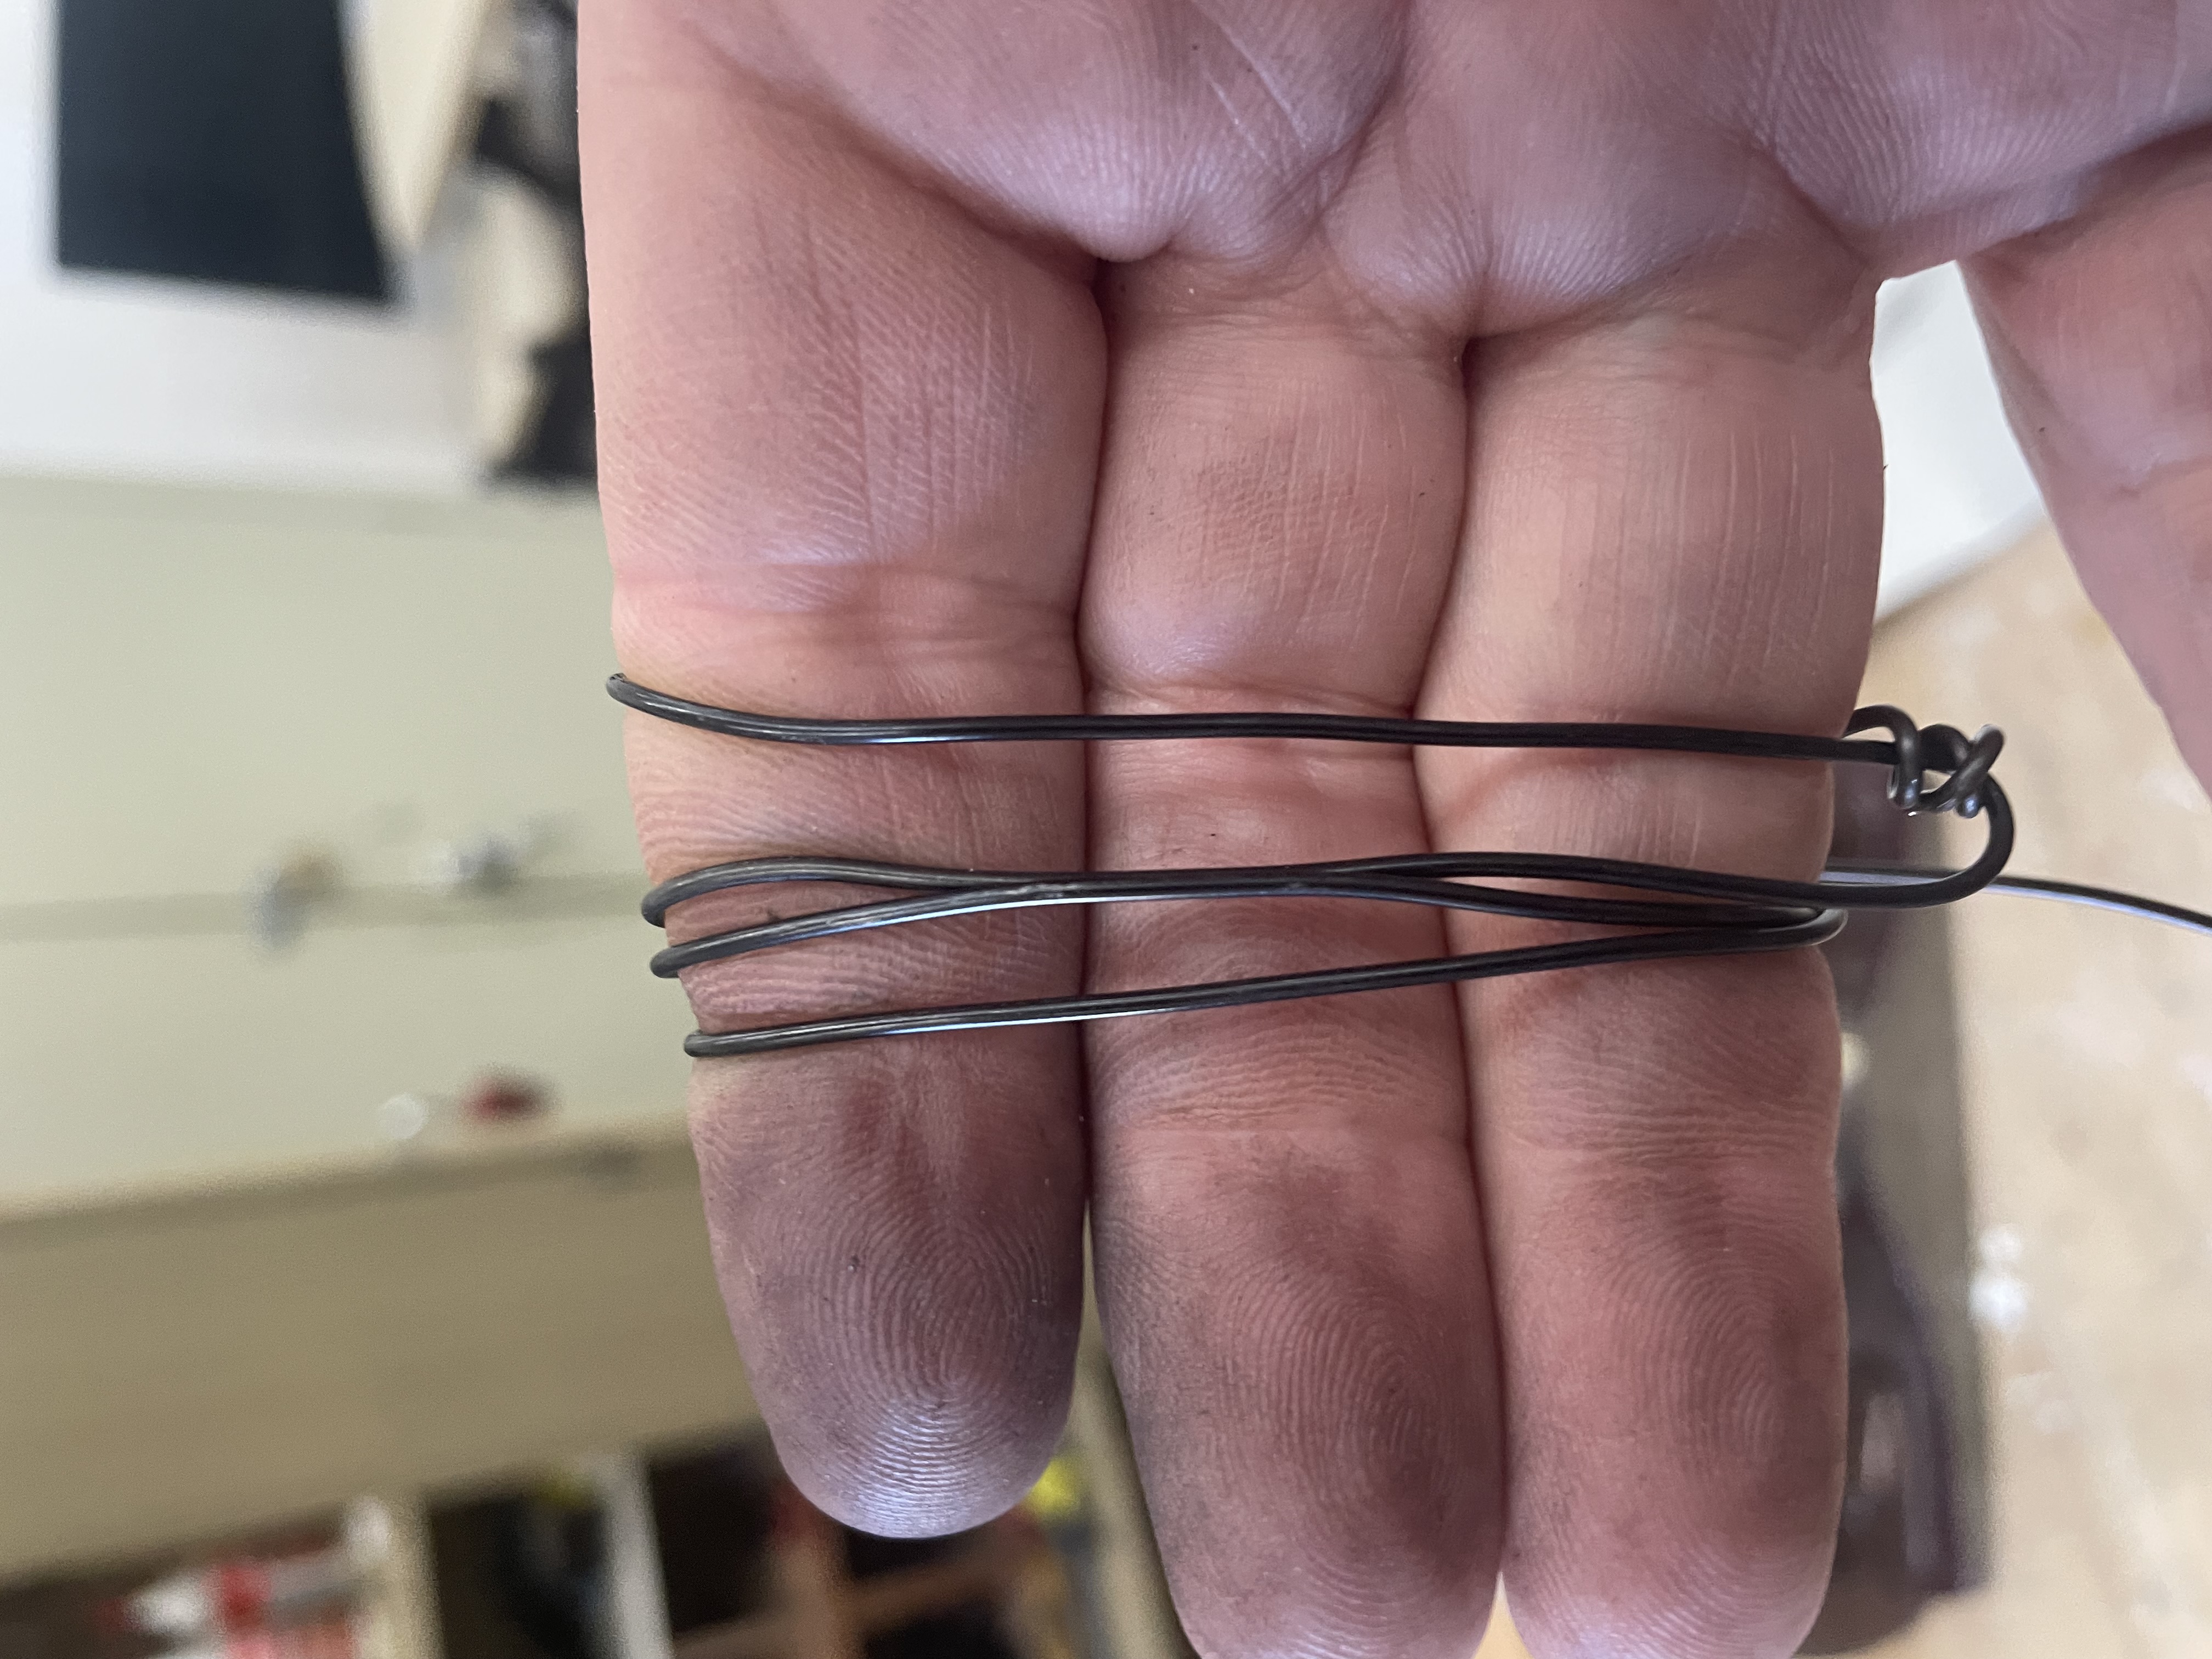
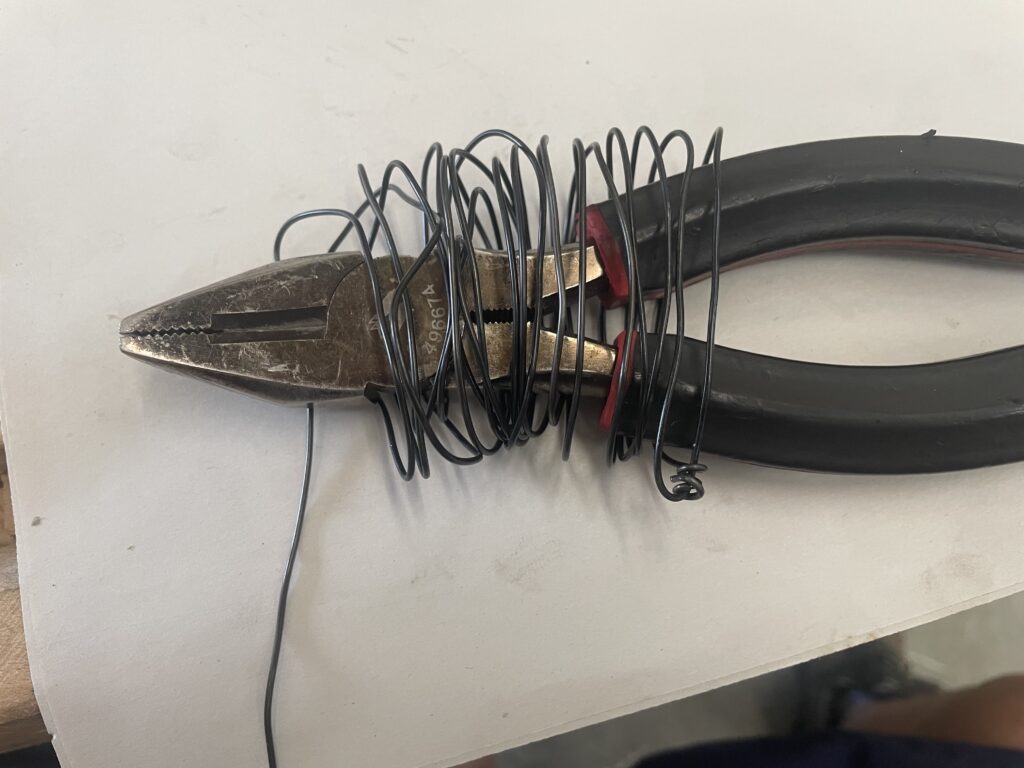
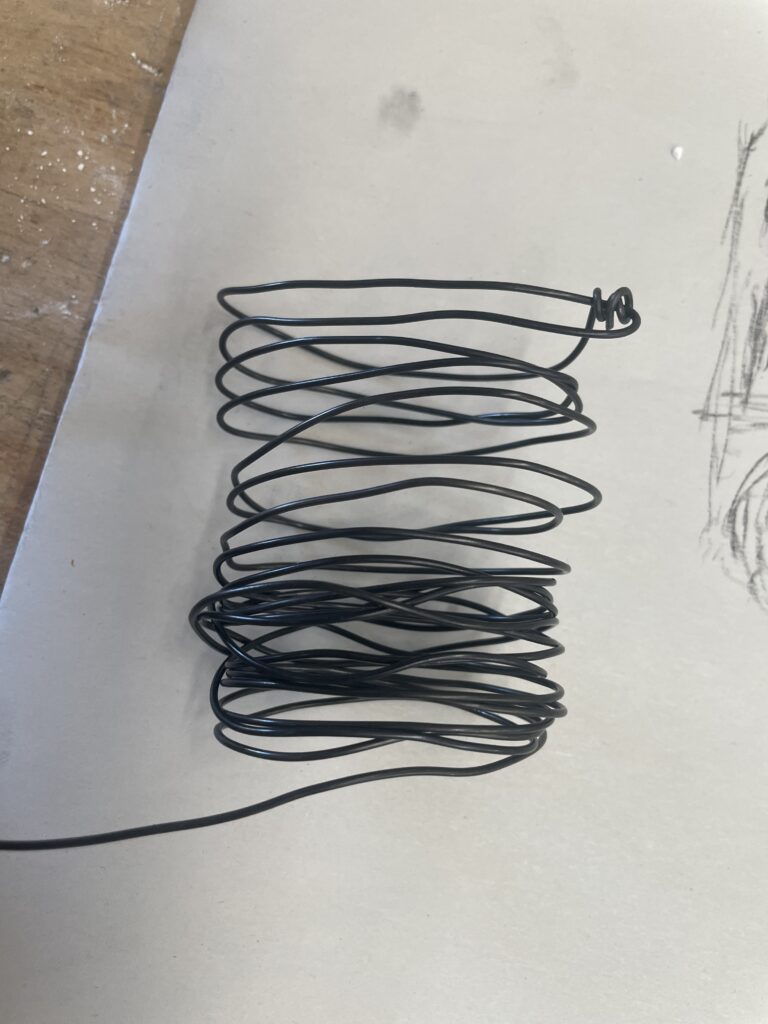
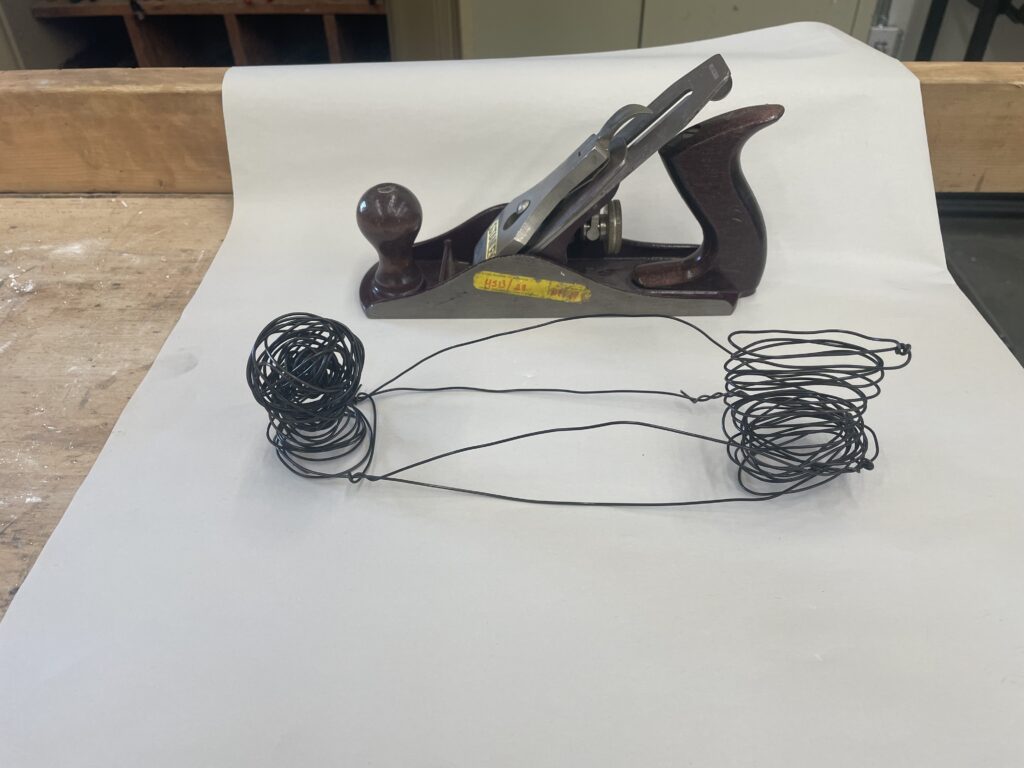

The images above outline the process. I found a single wire in the body shape was insufficiently rigid for my purpose. I had hoped to make a very minimalist shape with as few wires as possible – an impressionist plane – but this didn’t look like it was going to work out so I started looking at forming both the handles. The basic wire sphere for the front handle lacked substance so I wound one. For the rear handle I found using a formwork such as the pliers made shaping easier. Doubling the wire and twisting together significantly increased rigidity. At the end of Day 1 this is where I am at .
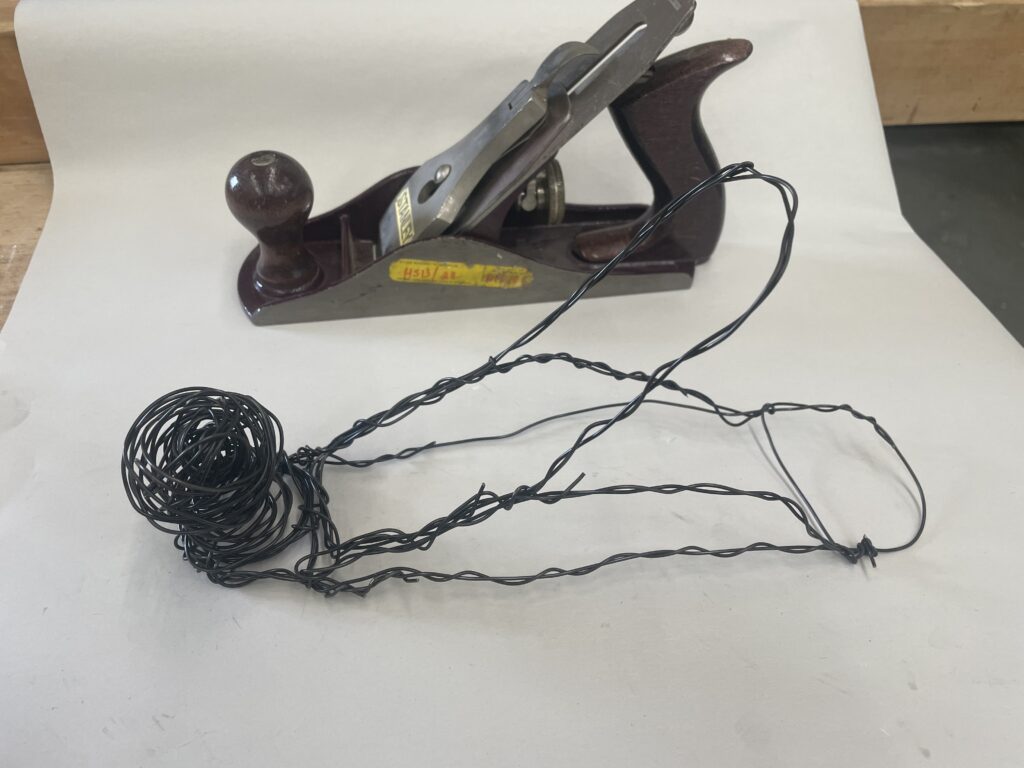
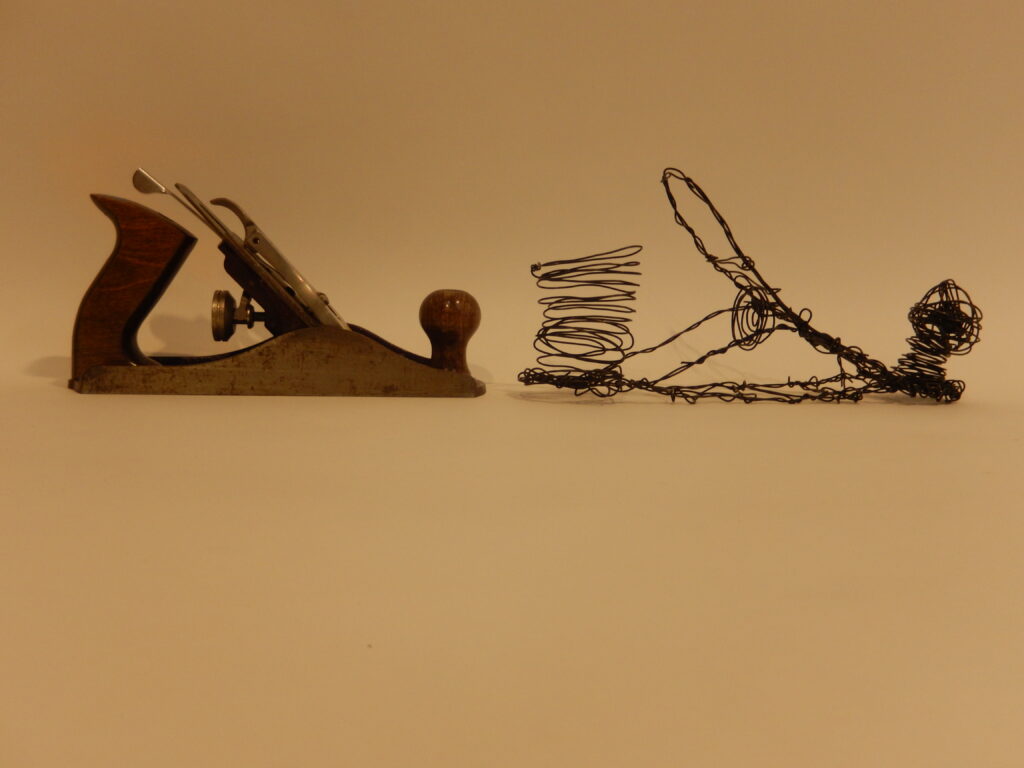
On the second day I added a knurled adjustment screw and I feel this project is now complete
STUDIO EXERCISE 2
Frankenstein’s Monster
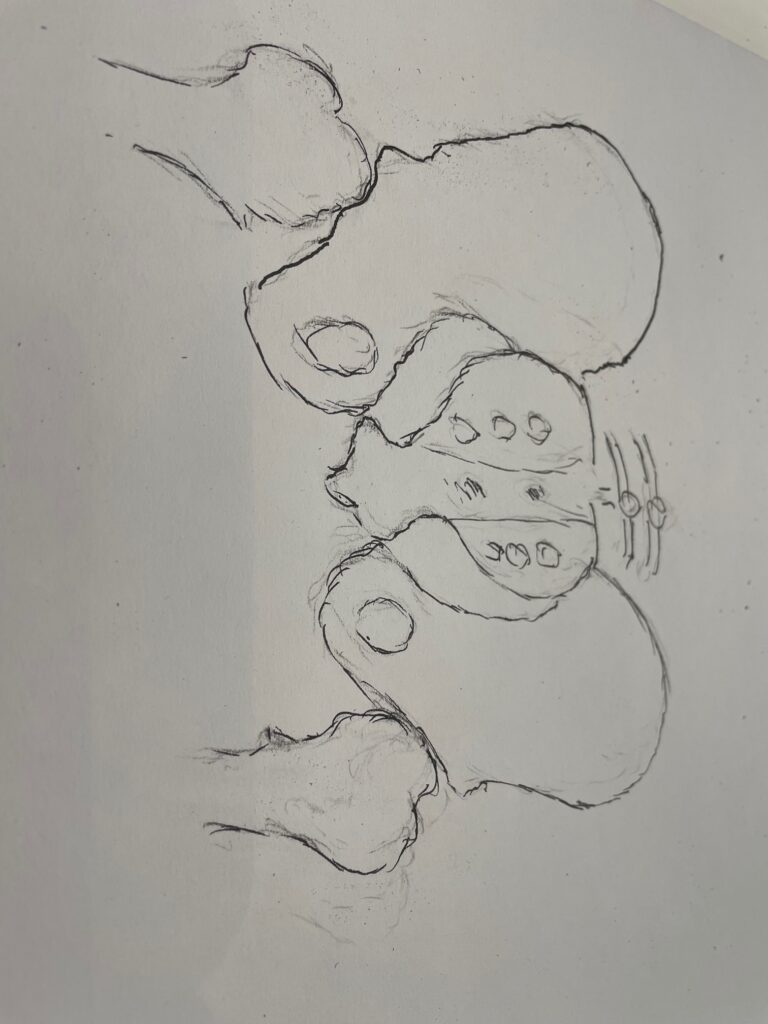
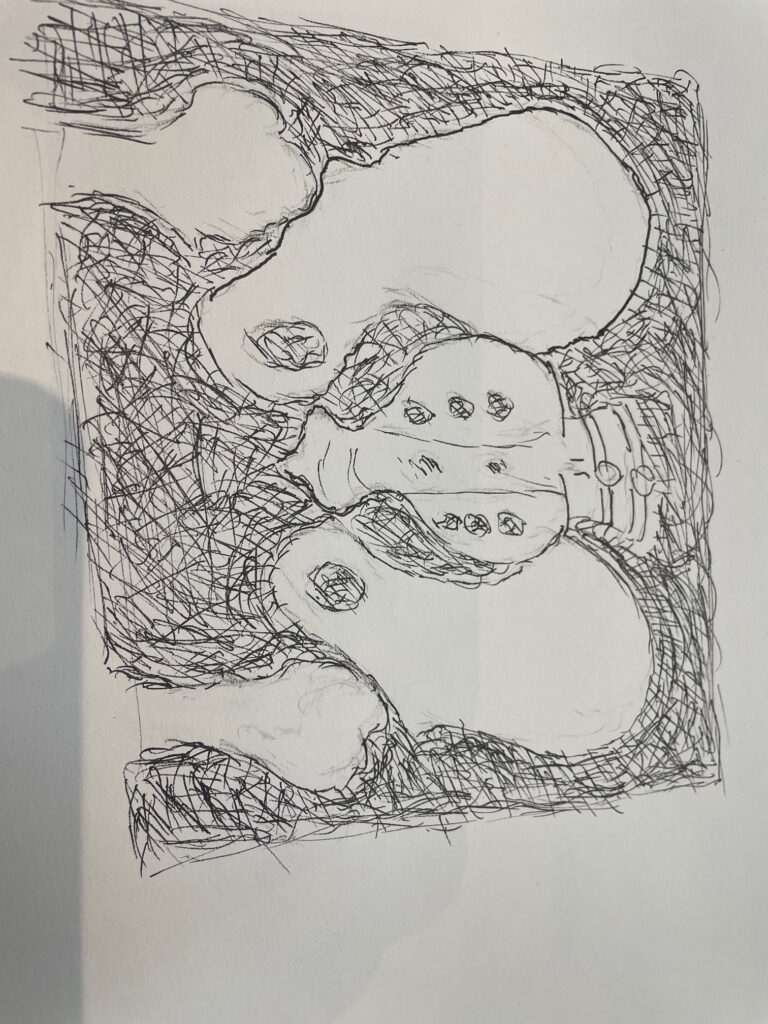
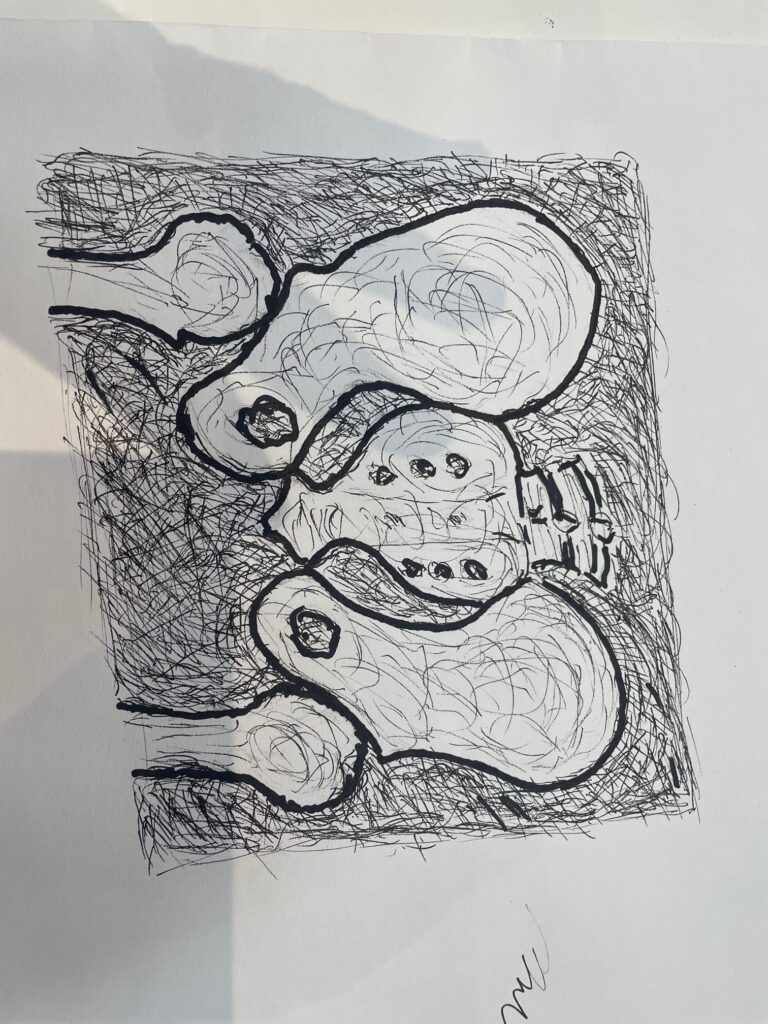
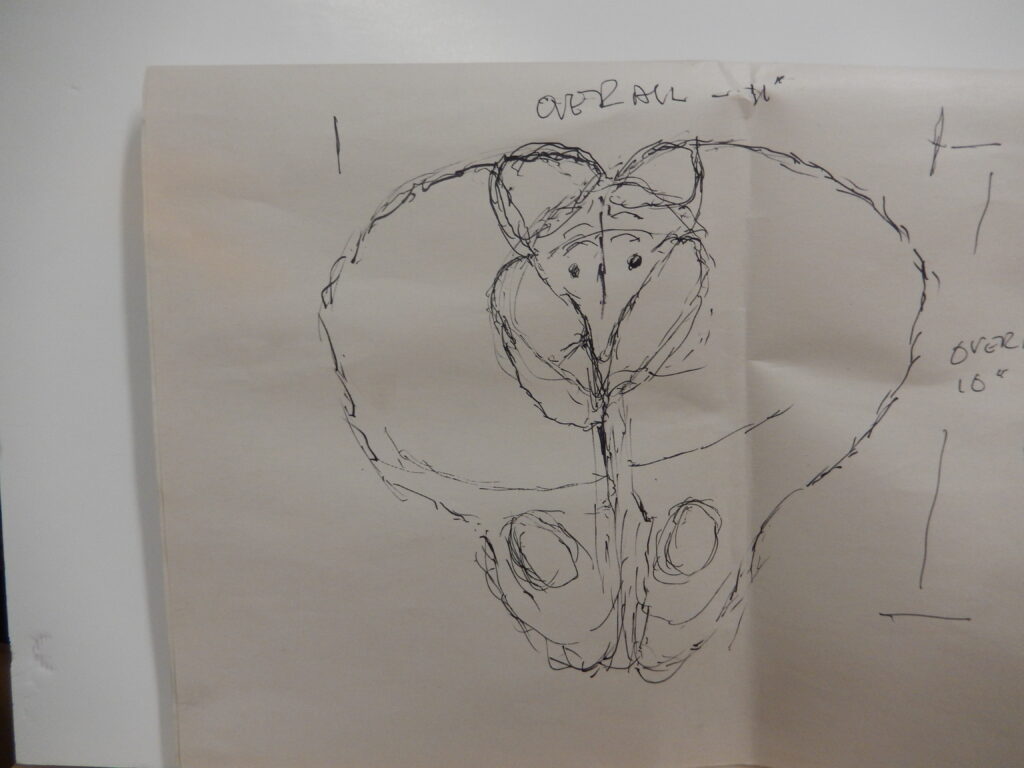
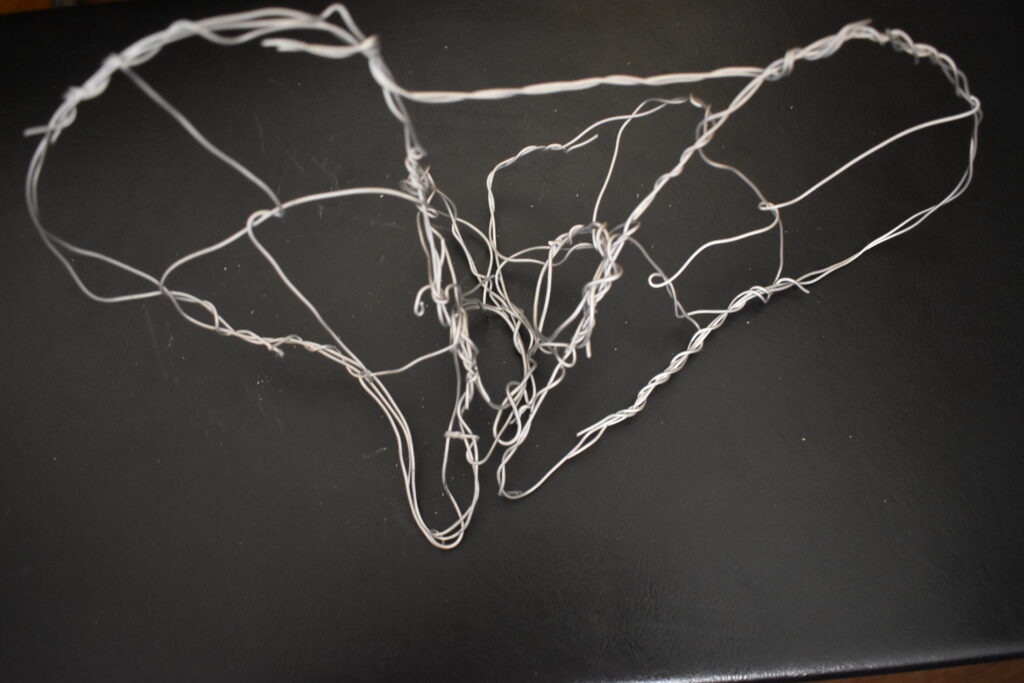
The second studio project is to assemble a skeleton from individual wire frame components. We were invited to select the body part we wanted to work on and I selected the pelvis, as this is the core of the whole skeleton. The pelvic bones are substantial and the challenge would be to create a wire frame that gave that sense of substance. The exercise also required a degree of collaboration as the group making the lower spine and sacrum would have to connect to the pelvis, as would the people making the femur. As usual we started with a few sketches of the 3d model. The wire to be used was sculpting wire – which had the advantage of being more malleable compared with the tie wire – but from the perspective of creating a strong pelvis was less suitable.
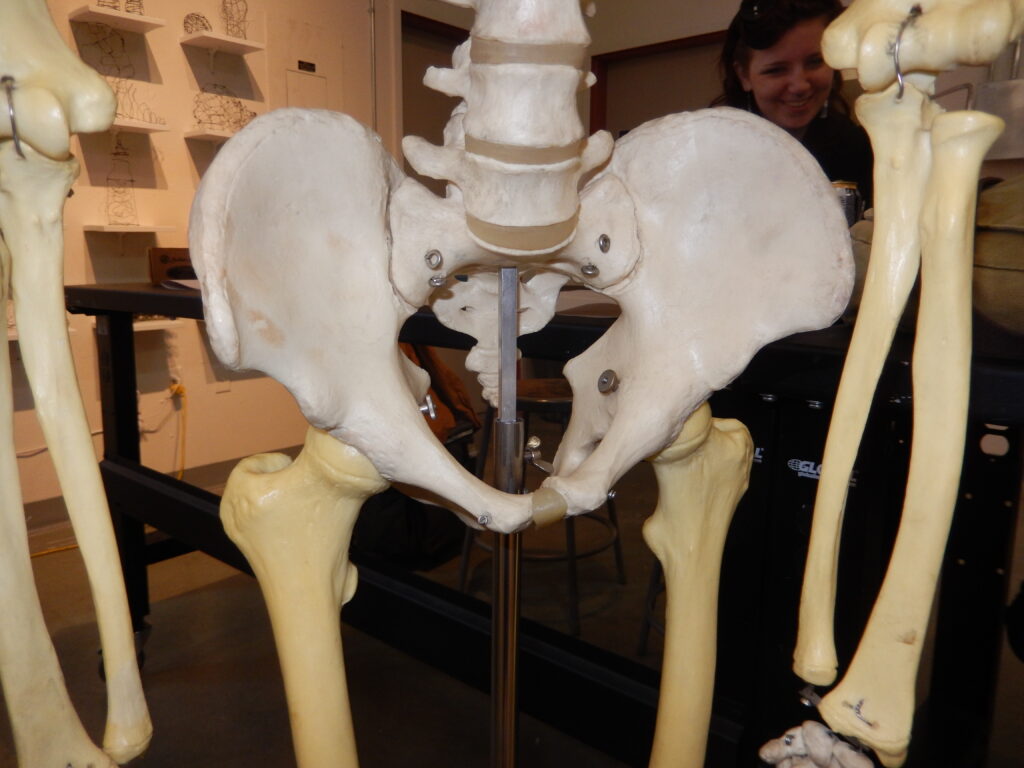
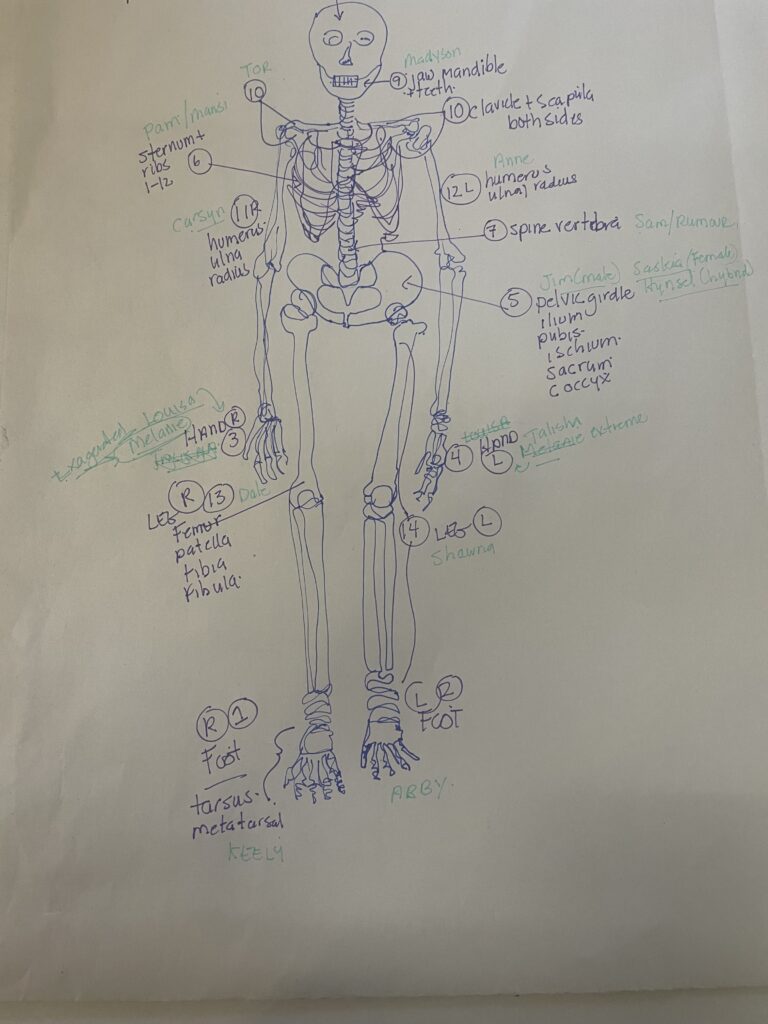
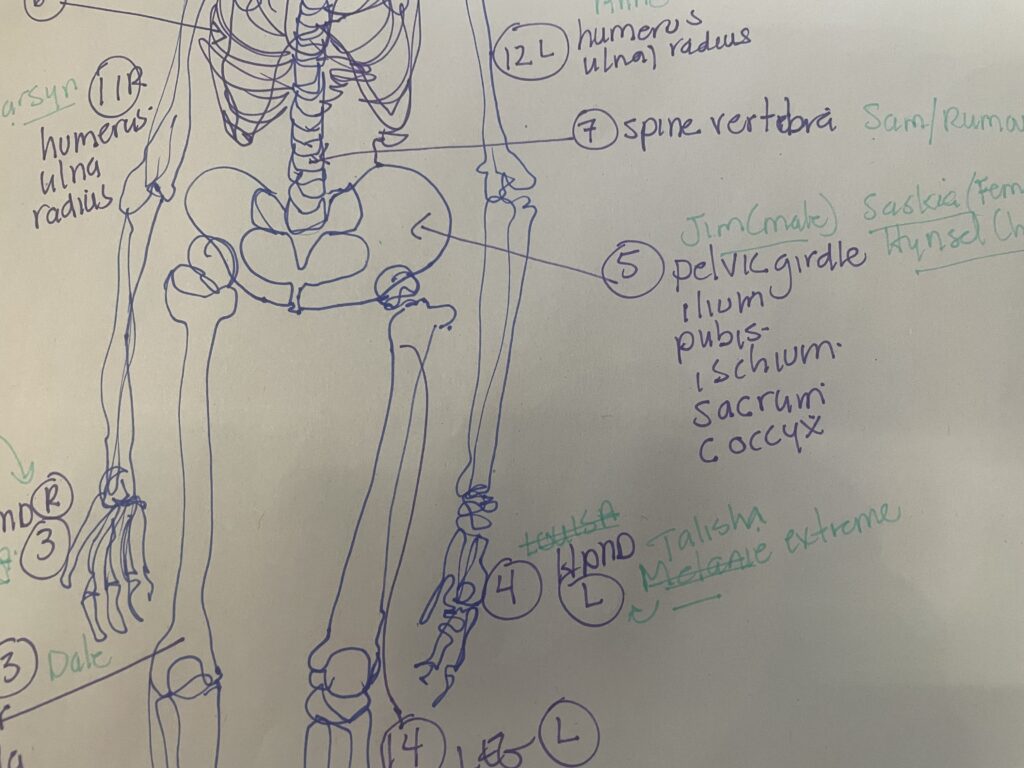
The pelvis is quite complex as it comprises the ilium and ischium which are twisted. The group making the spine elected to make the sacrum and coccyx so the pelvis needed to be constructed in such a way that they could make their connection. To create a strong frame as noted previously it was necessary to use tie wire and a lot of twisting, but the sculpting wire will be used to add substance to the components. In order to stay with the overall look and feel the tie wire will need to be sprayed a metallic silver.
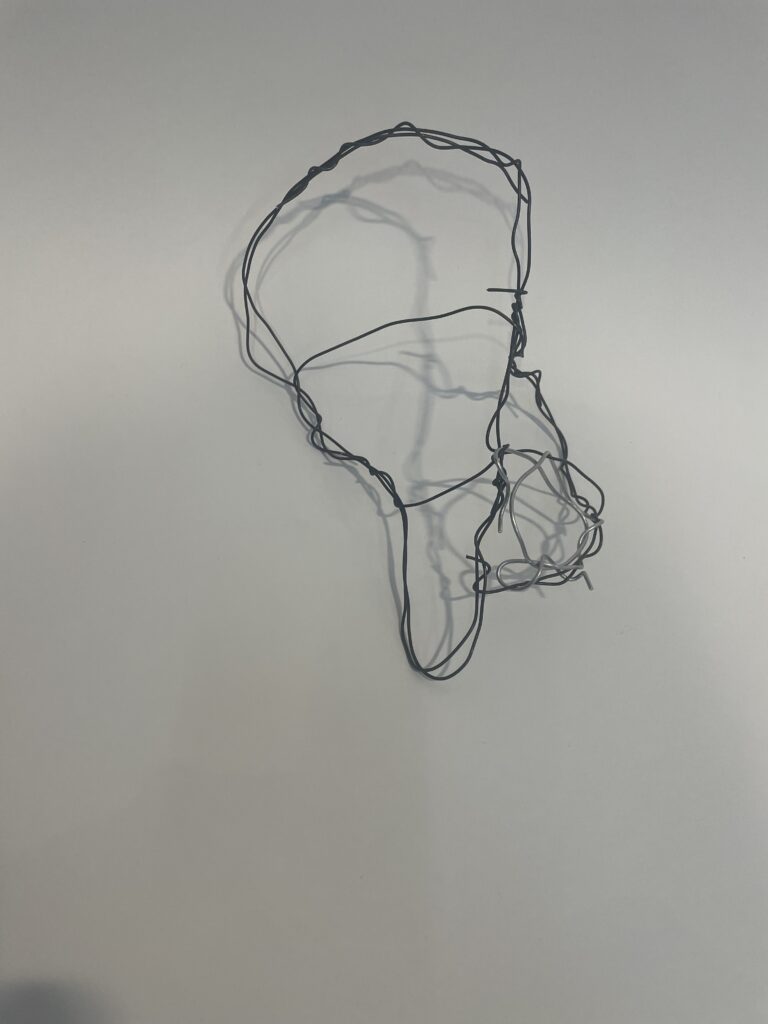
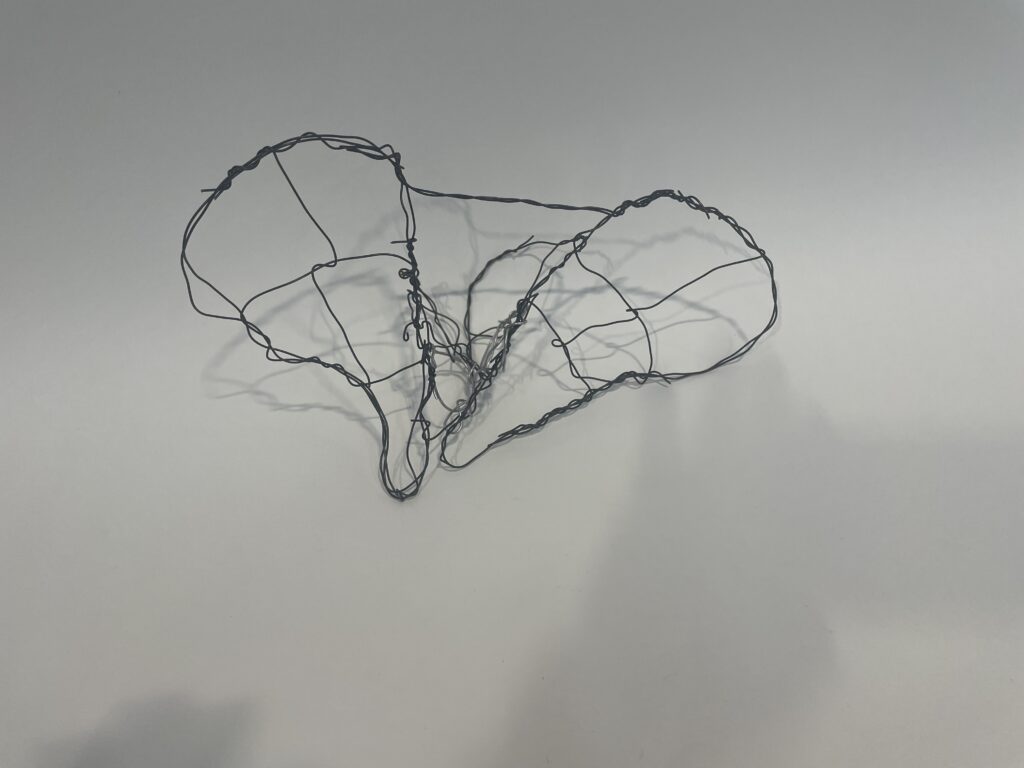
Have now sprayed the basic form and feel it will be much more in keeping with the rest of the skeleton as the silver spray is very similar to the color of the sculpting wire, however I am very glad that made the basic shape with tie wire as it is so much more rigid and substantial than the sculpting wire
The final phase is to give more substance to the outline to create a more dense ilium and ischium
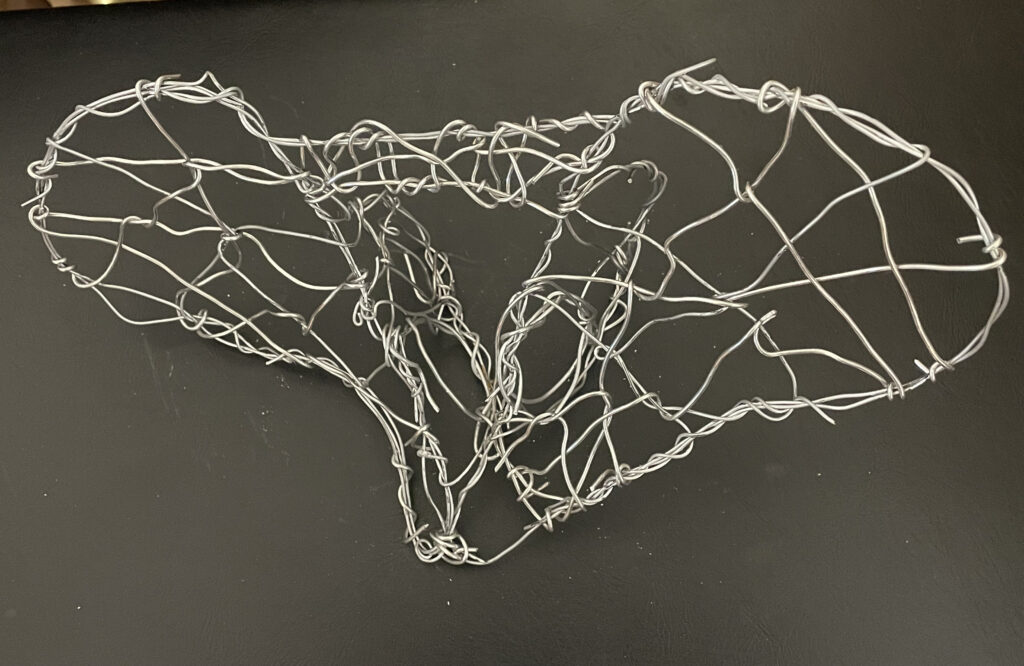
Hopefully this has captured the strength of the pelvis at the core of our skeleton